Repairing my Razer Keyboard
Tags: keyboards
I recently repaired my mechanical keyboard.
It’s a Razer BlackWidow Ultimate, 2016 Edition that I’d bought on sale a couple
of years ago.
The result was an imperfect success.
The successful part: my keyboard now works and can be reliably used for typing and gaming. (Before, many of the keys didn’t activate when pressed; or only activated some of the time. Or seemed to work most of the time, but then sometimes would fail to activate).
The imperfect part: currently, three keys don’t work: numpad 5, numpad 4, and the right Windows key. And I didn’t bother to resolder the per-key LEDs. (And some blemishes on the PCB from some subpar desoldering work).
The repair involved replacing all the key switches on the keyboard.
This came after I’d tried to see if compressed air would help
with the keys.
And after seeing if just desoldering and resoldering some of the
‘faulty’ keys would help. (This sortof seemed to improve some of the
keys, at least from ‘not working at all’ to ‘working reliably’; but,
it didn’t fix all of the keys).
And after removing some of the switches, taking them apart to
see if there was any ‘smoking gun’ that indicated any problems.
Most of the difficulties I had with desoldering would probably have been avoided if I had bought nicer soldering equipment. (I was just using the stuff on AliExpress which had the most orders). And if I had ordered soldering flux.
Searching the web, and Reddit, for advice would have helped with some of this, too. These were invaluable resources for finding out how to even do this stuff.
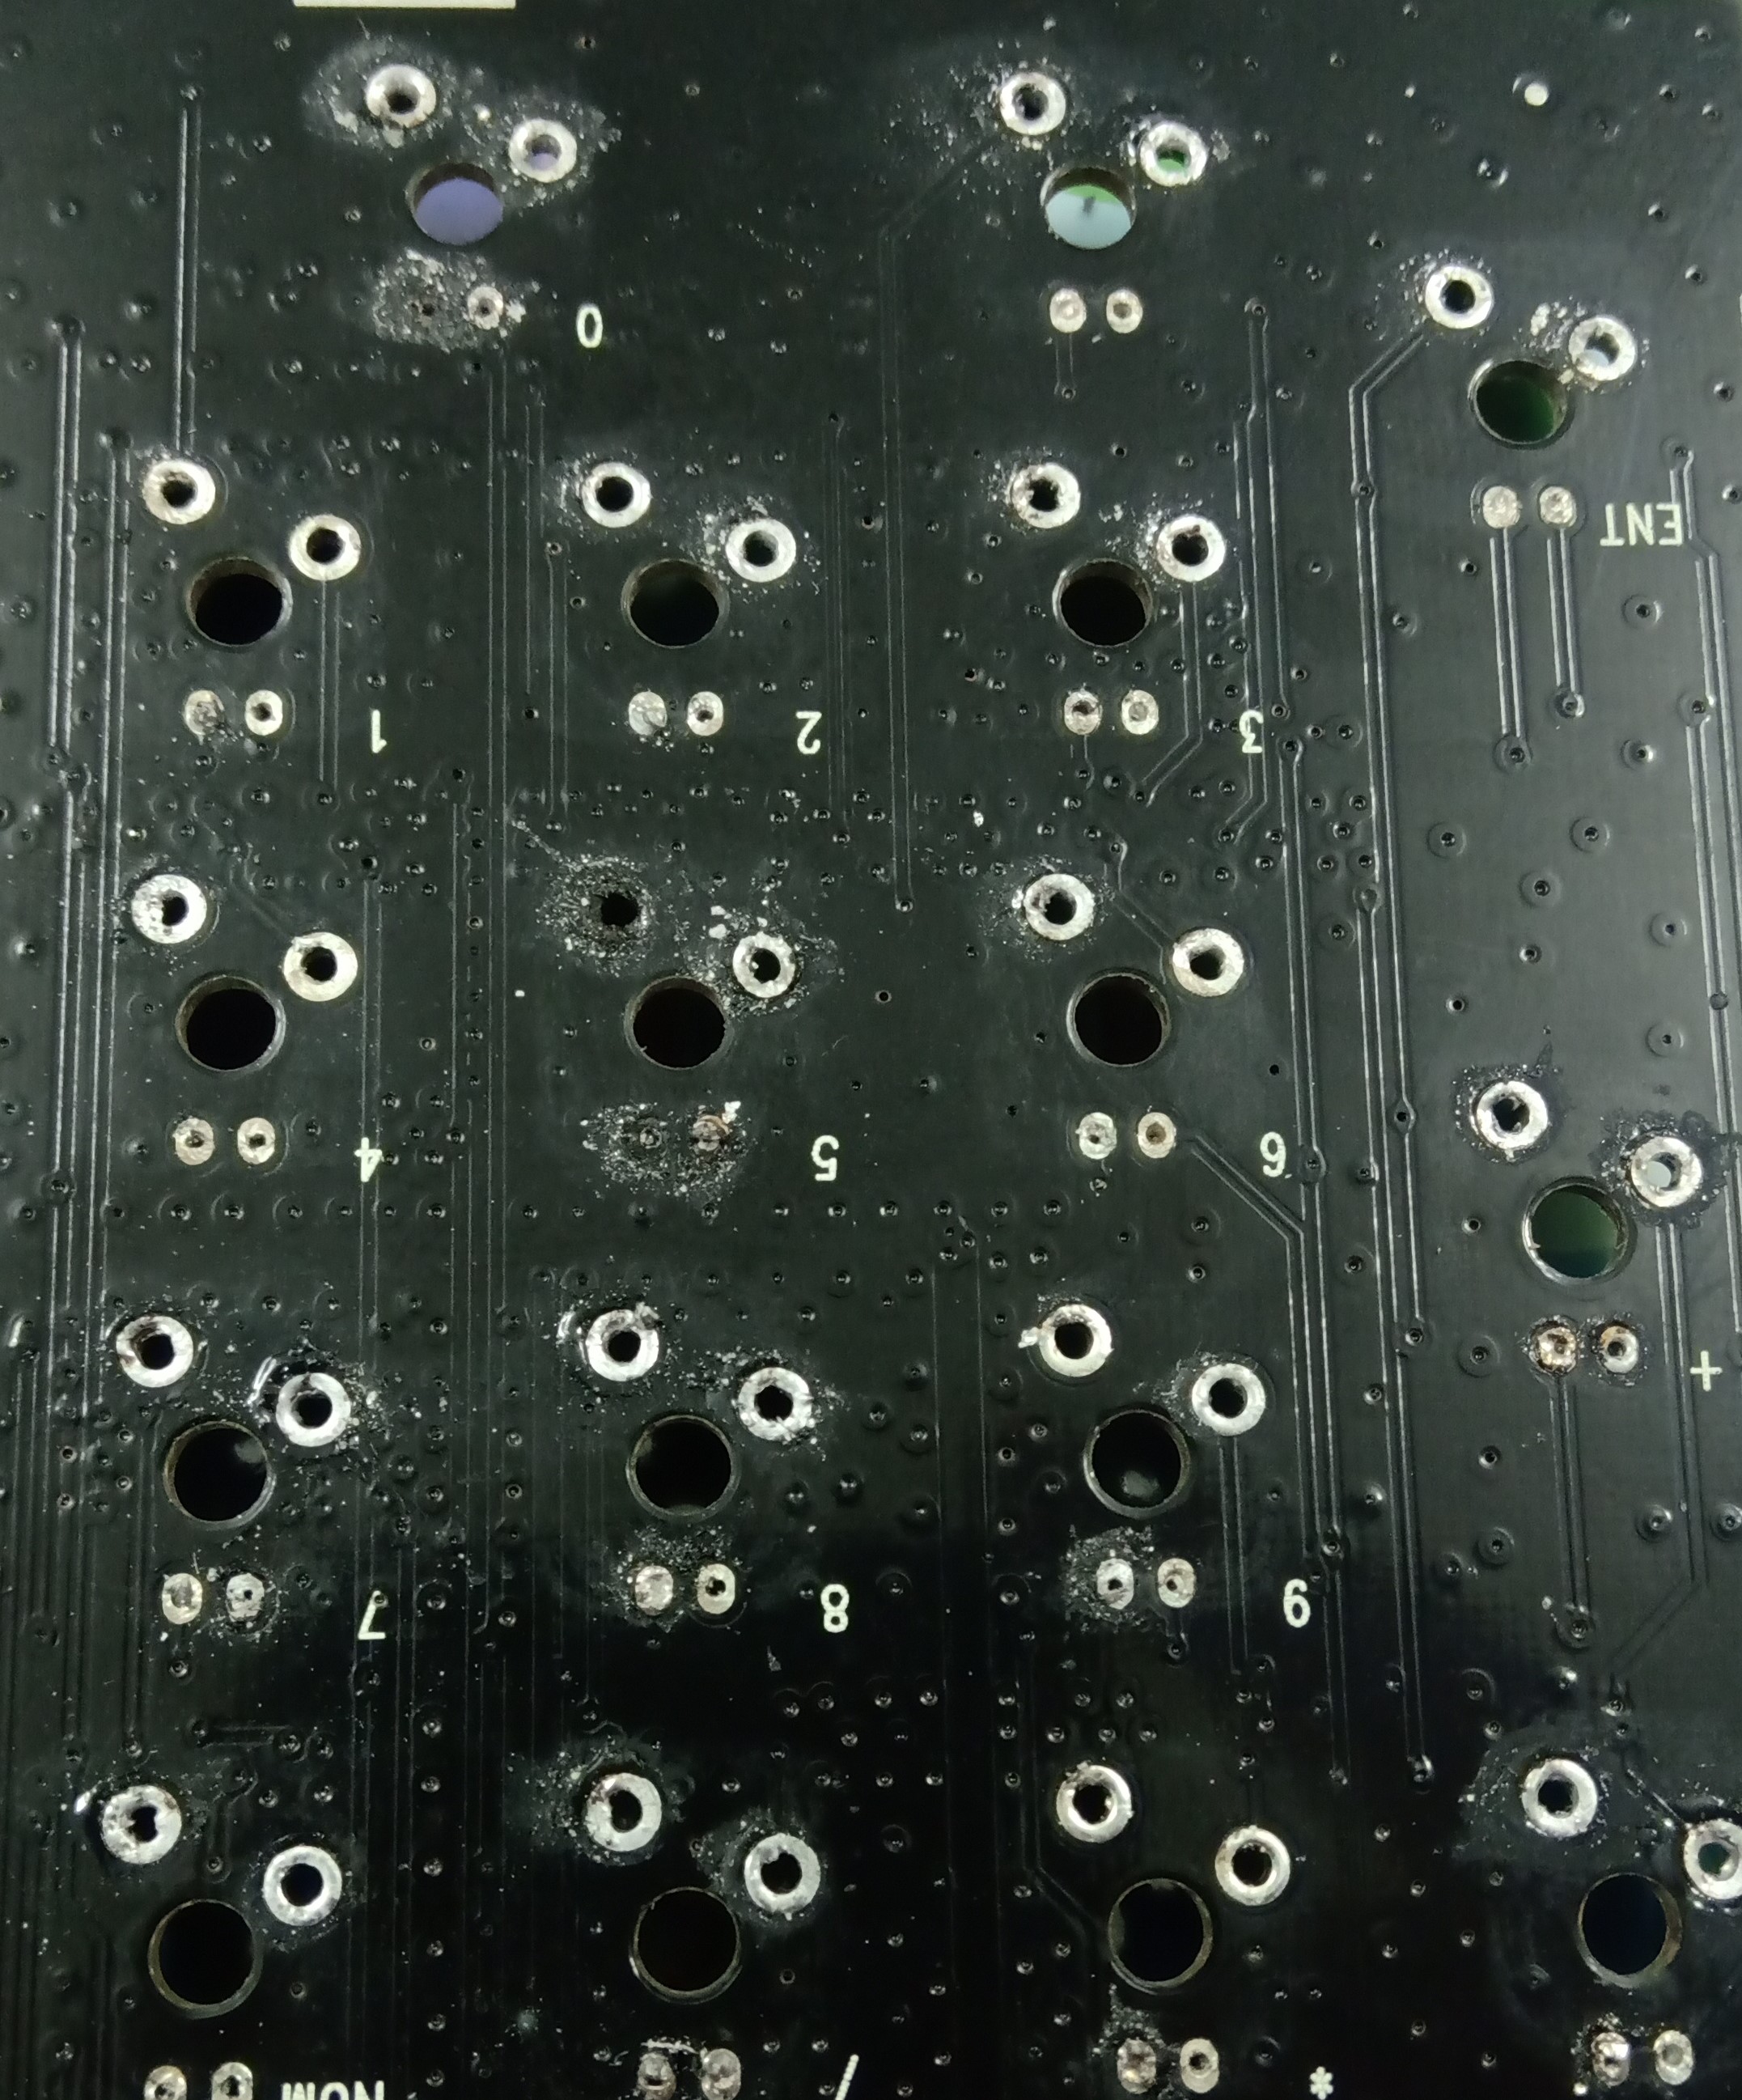
As an example of how I found desoldering difficult, my desoldering attempts would sometimes end up looking like this, despite my best efforts:
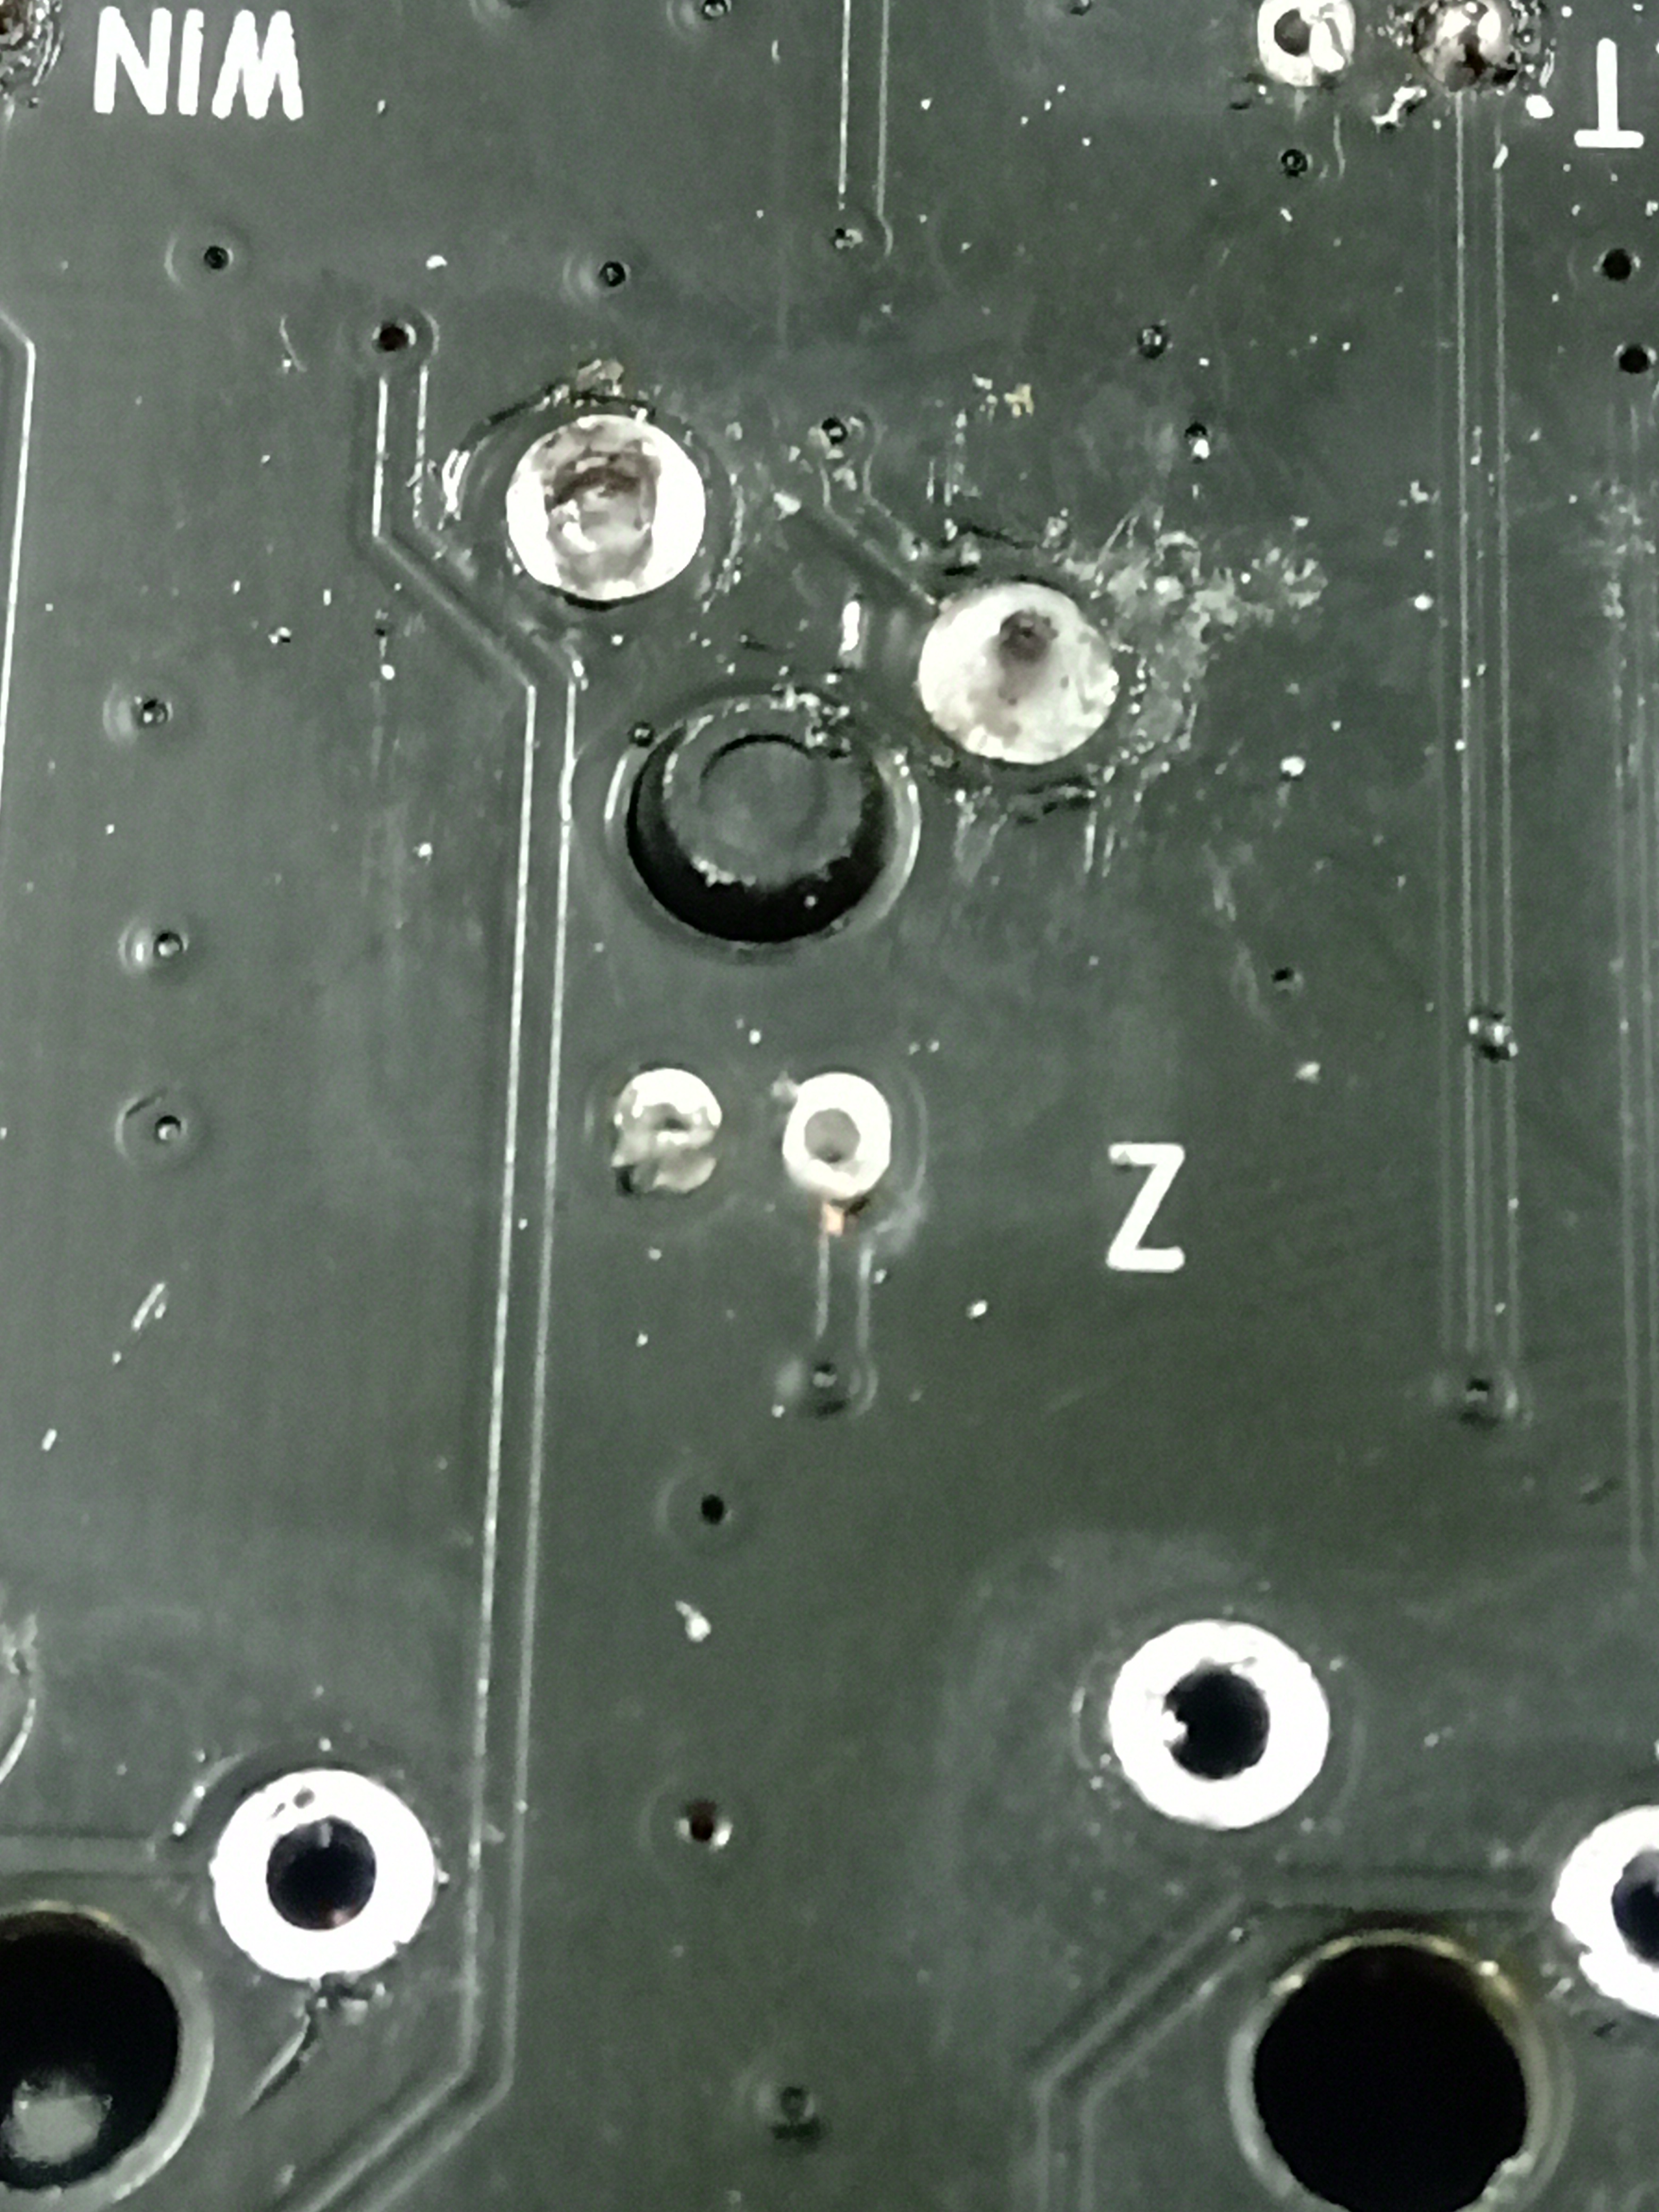
I didn’t have any significant success with desoldering braid. I don’t know why. Maybe the braid I bought was subpar quality, or the soldering iron. – But it didn’t seem to work like it did in the YouTube videos I watched.
The LEDs themselves were difficult to deal with.
The LEDs make the keyboard fancy, in that they light up when the key
is pressed; but the LEDs make changing key switches more difficult as
they must be desoldered and removed before the key switch can be
desoldered and removed.
Desoldering and removing the LEDs was not easy.
So my process was: I used a desoldering pump to remove some of the solder.
Then I heated the LED legs so that I was able to remove the LED using tweezers.
(I didn’t bother to do anything after this. But if I had to re-insert
the LEDs, I would remove the rest of the solder).
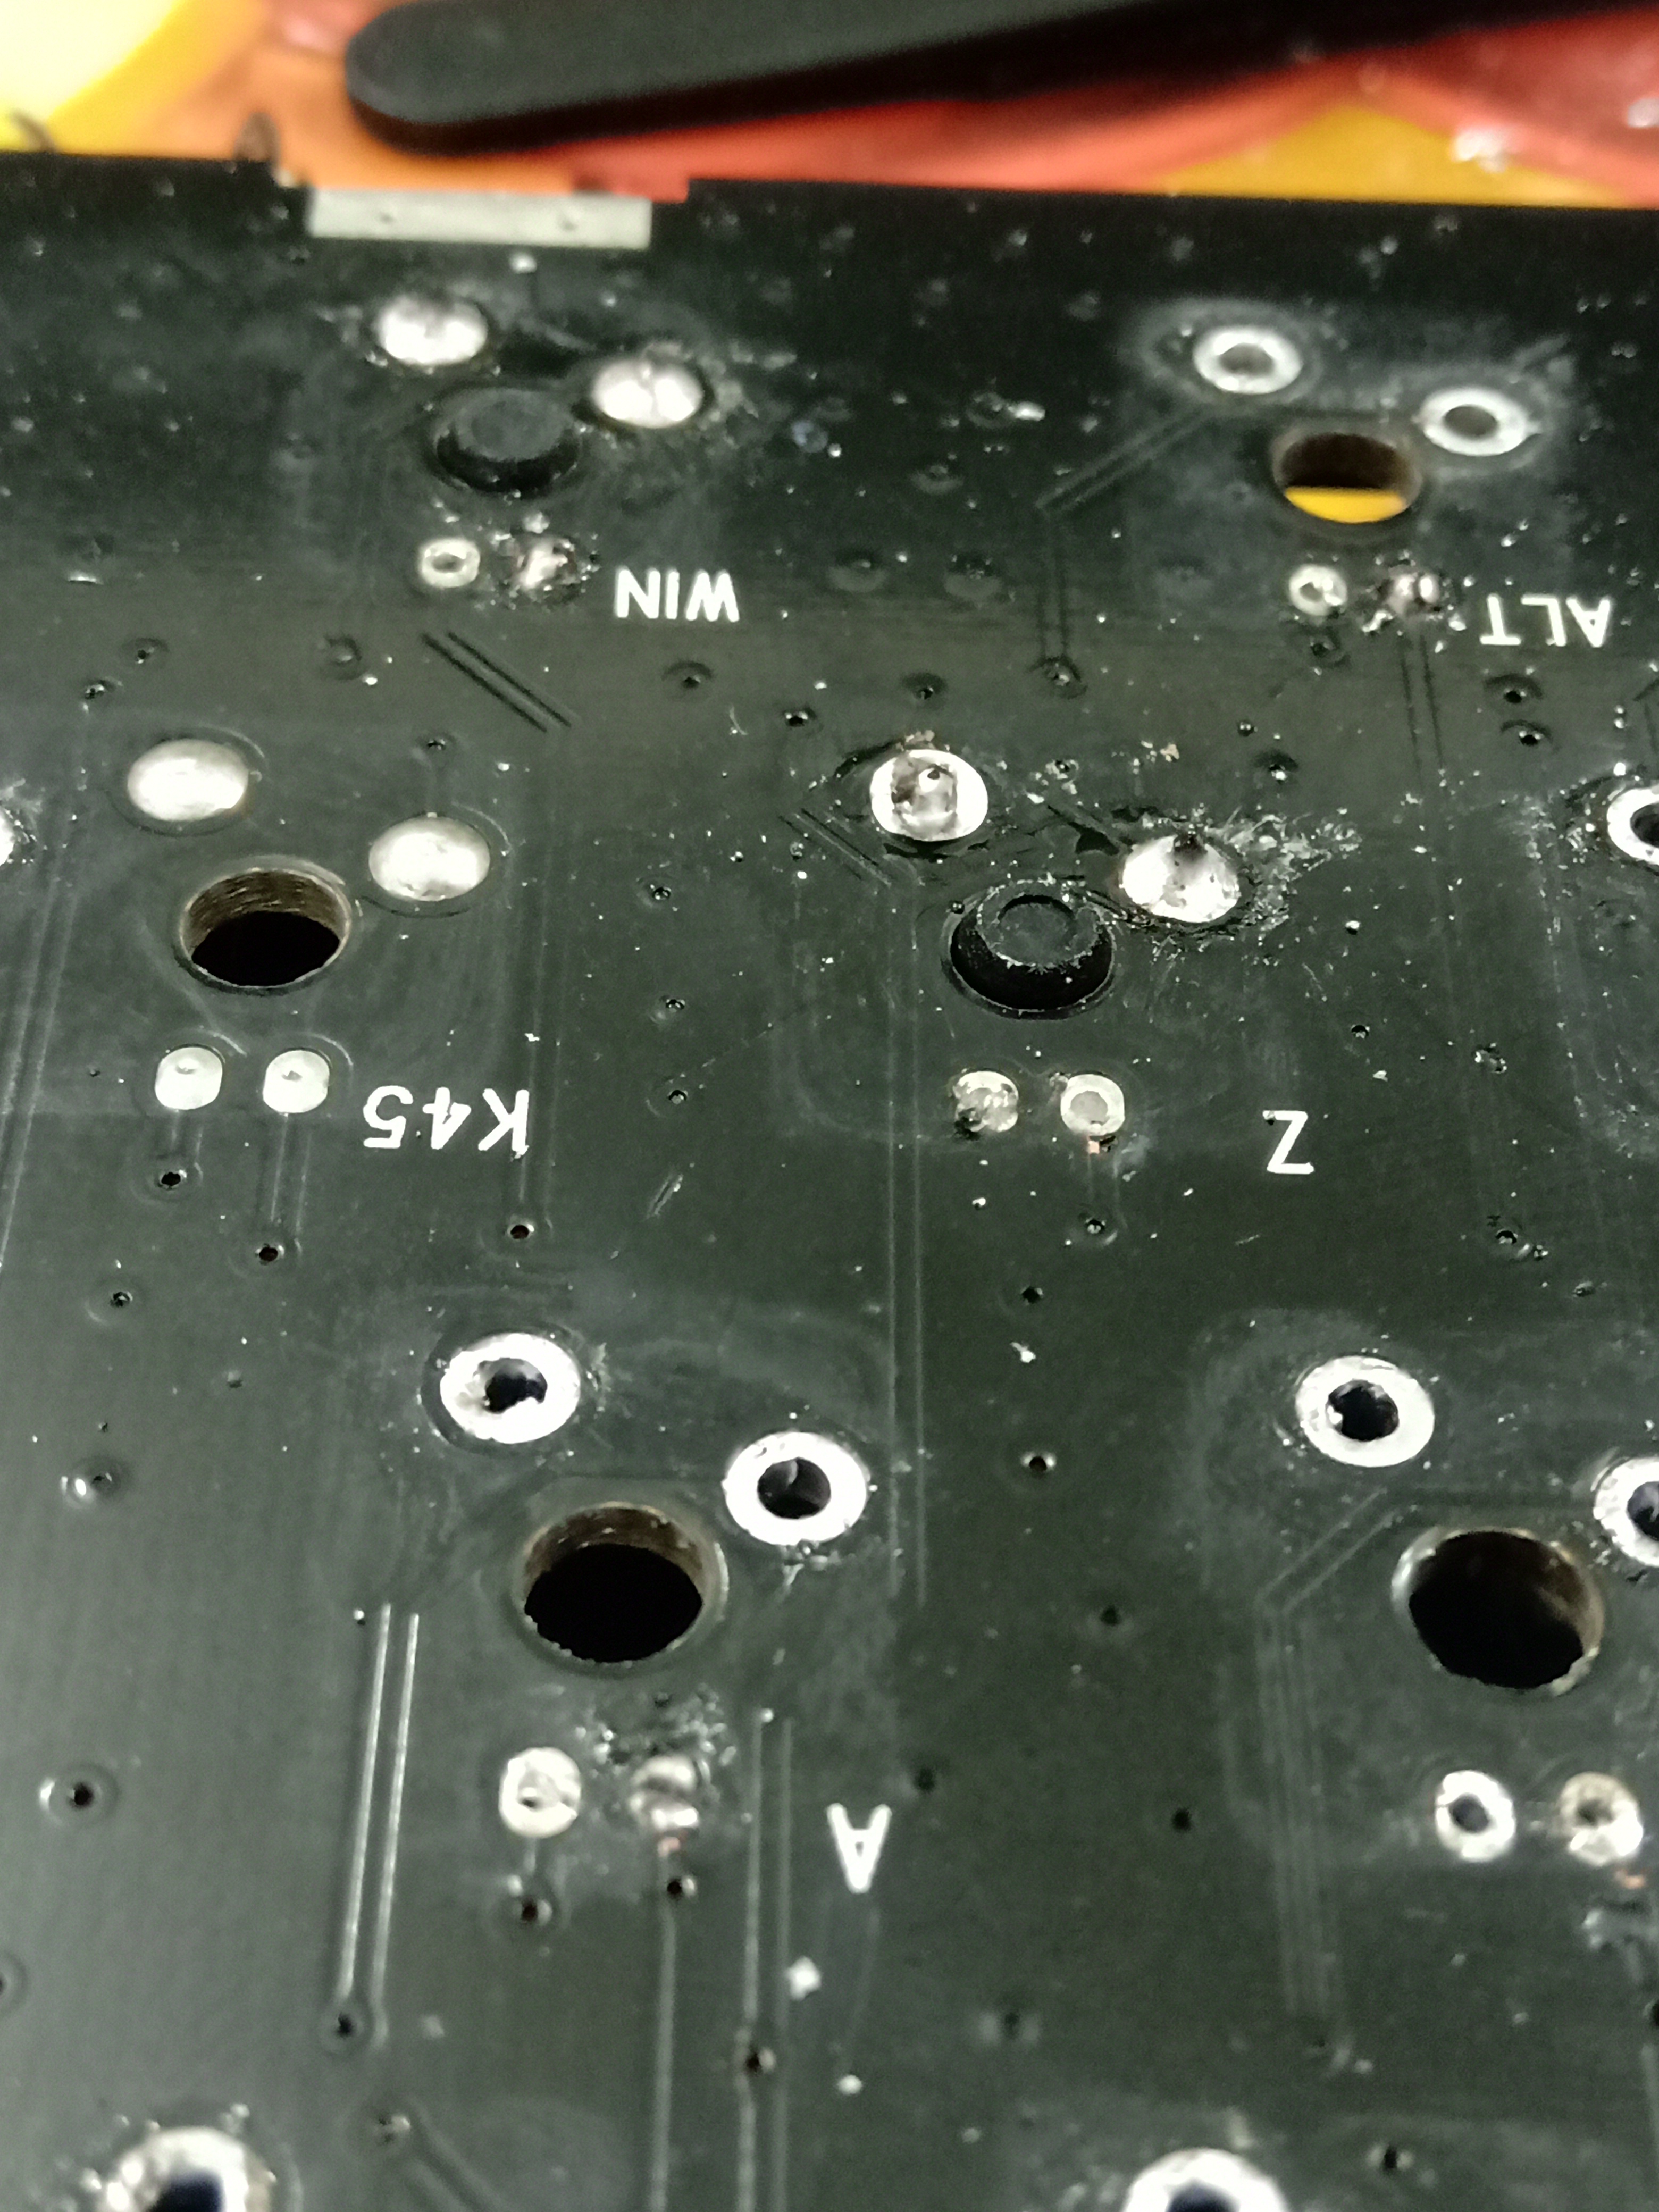
Here’s another example of a difficulty I had. The F6 key here still had enough solder that the switch couldn’t be removed easily. (To fix this, you ought to add more solder back.. but I found this risked getting into the bad situation like above).
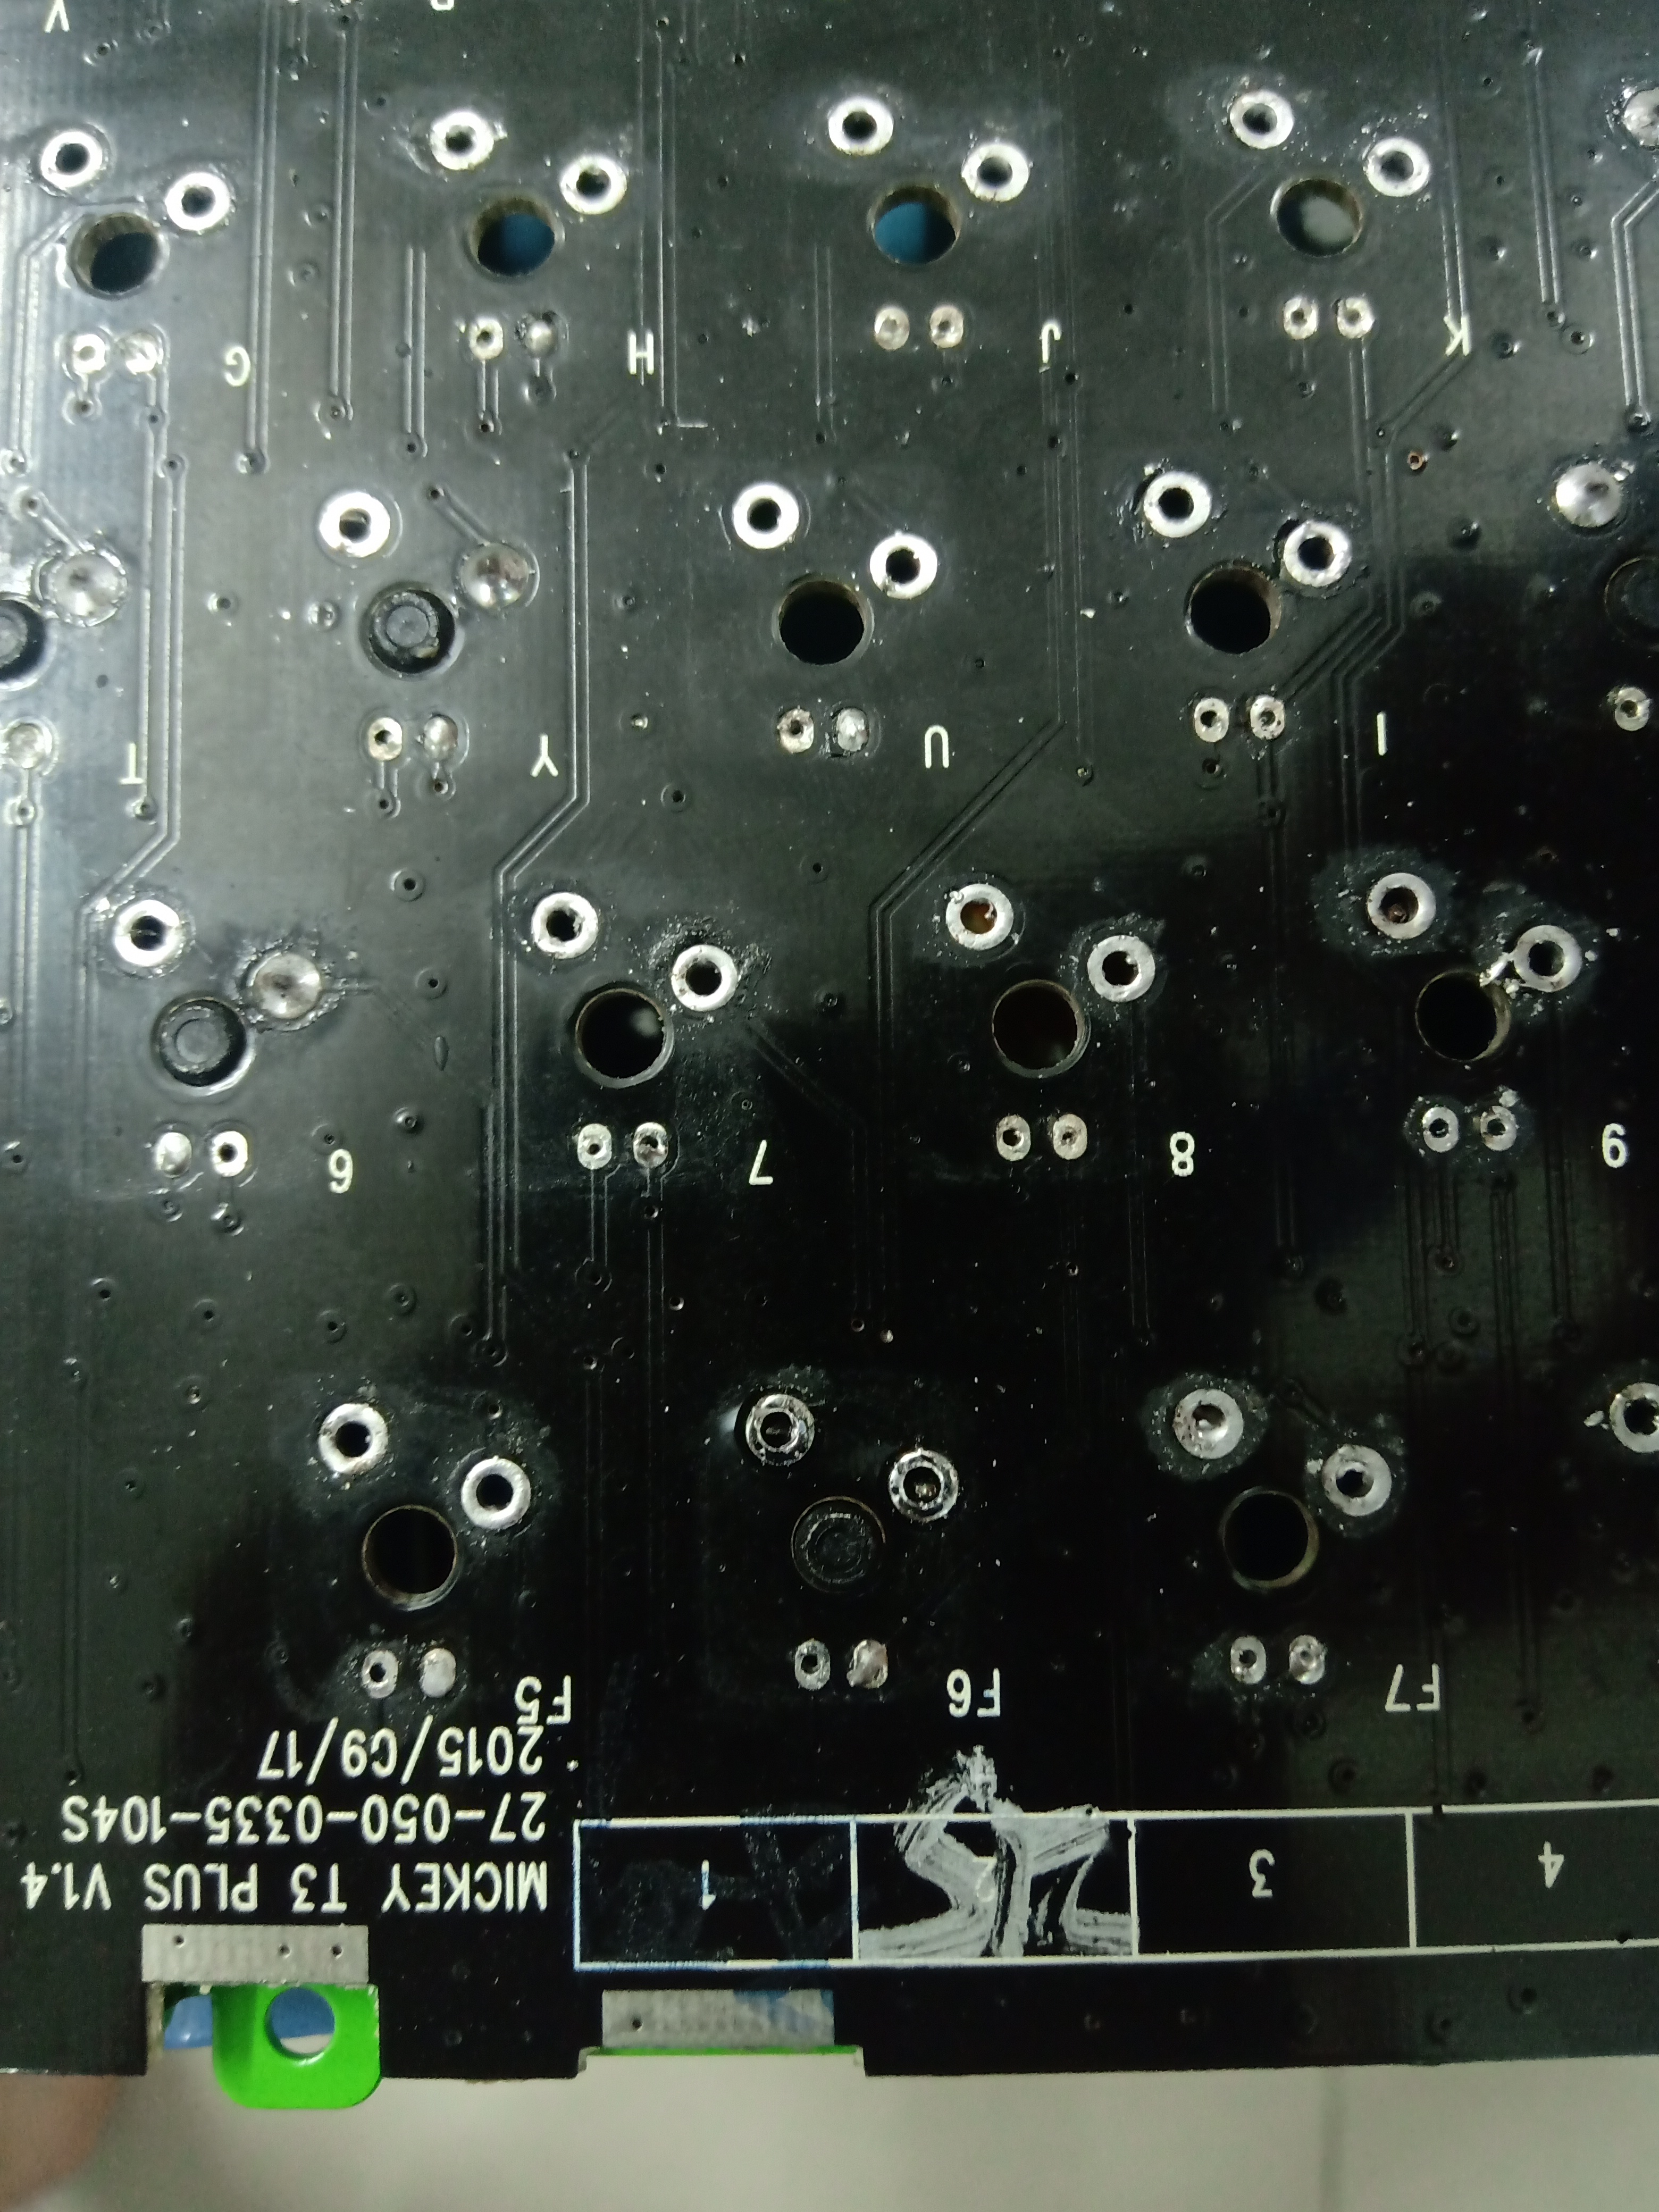
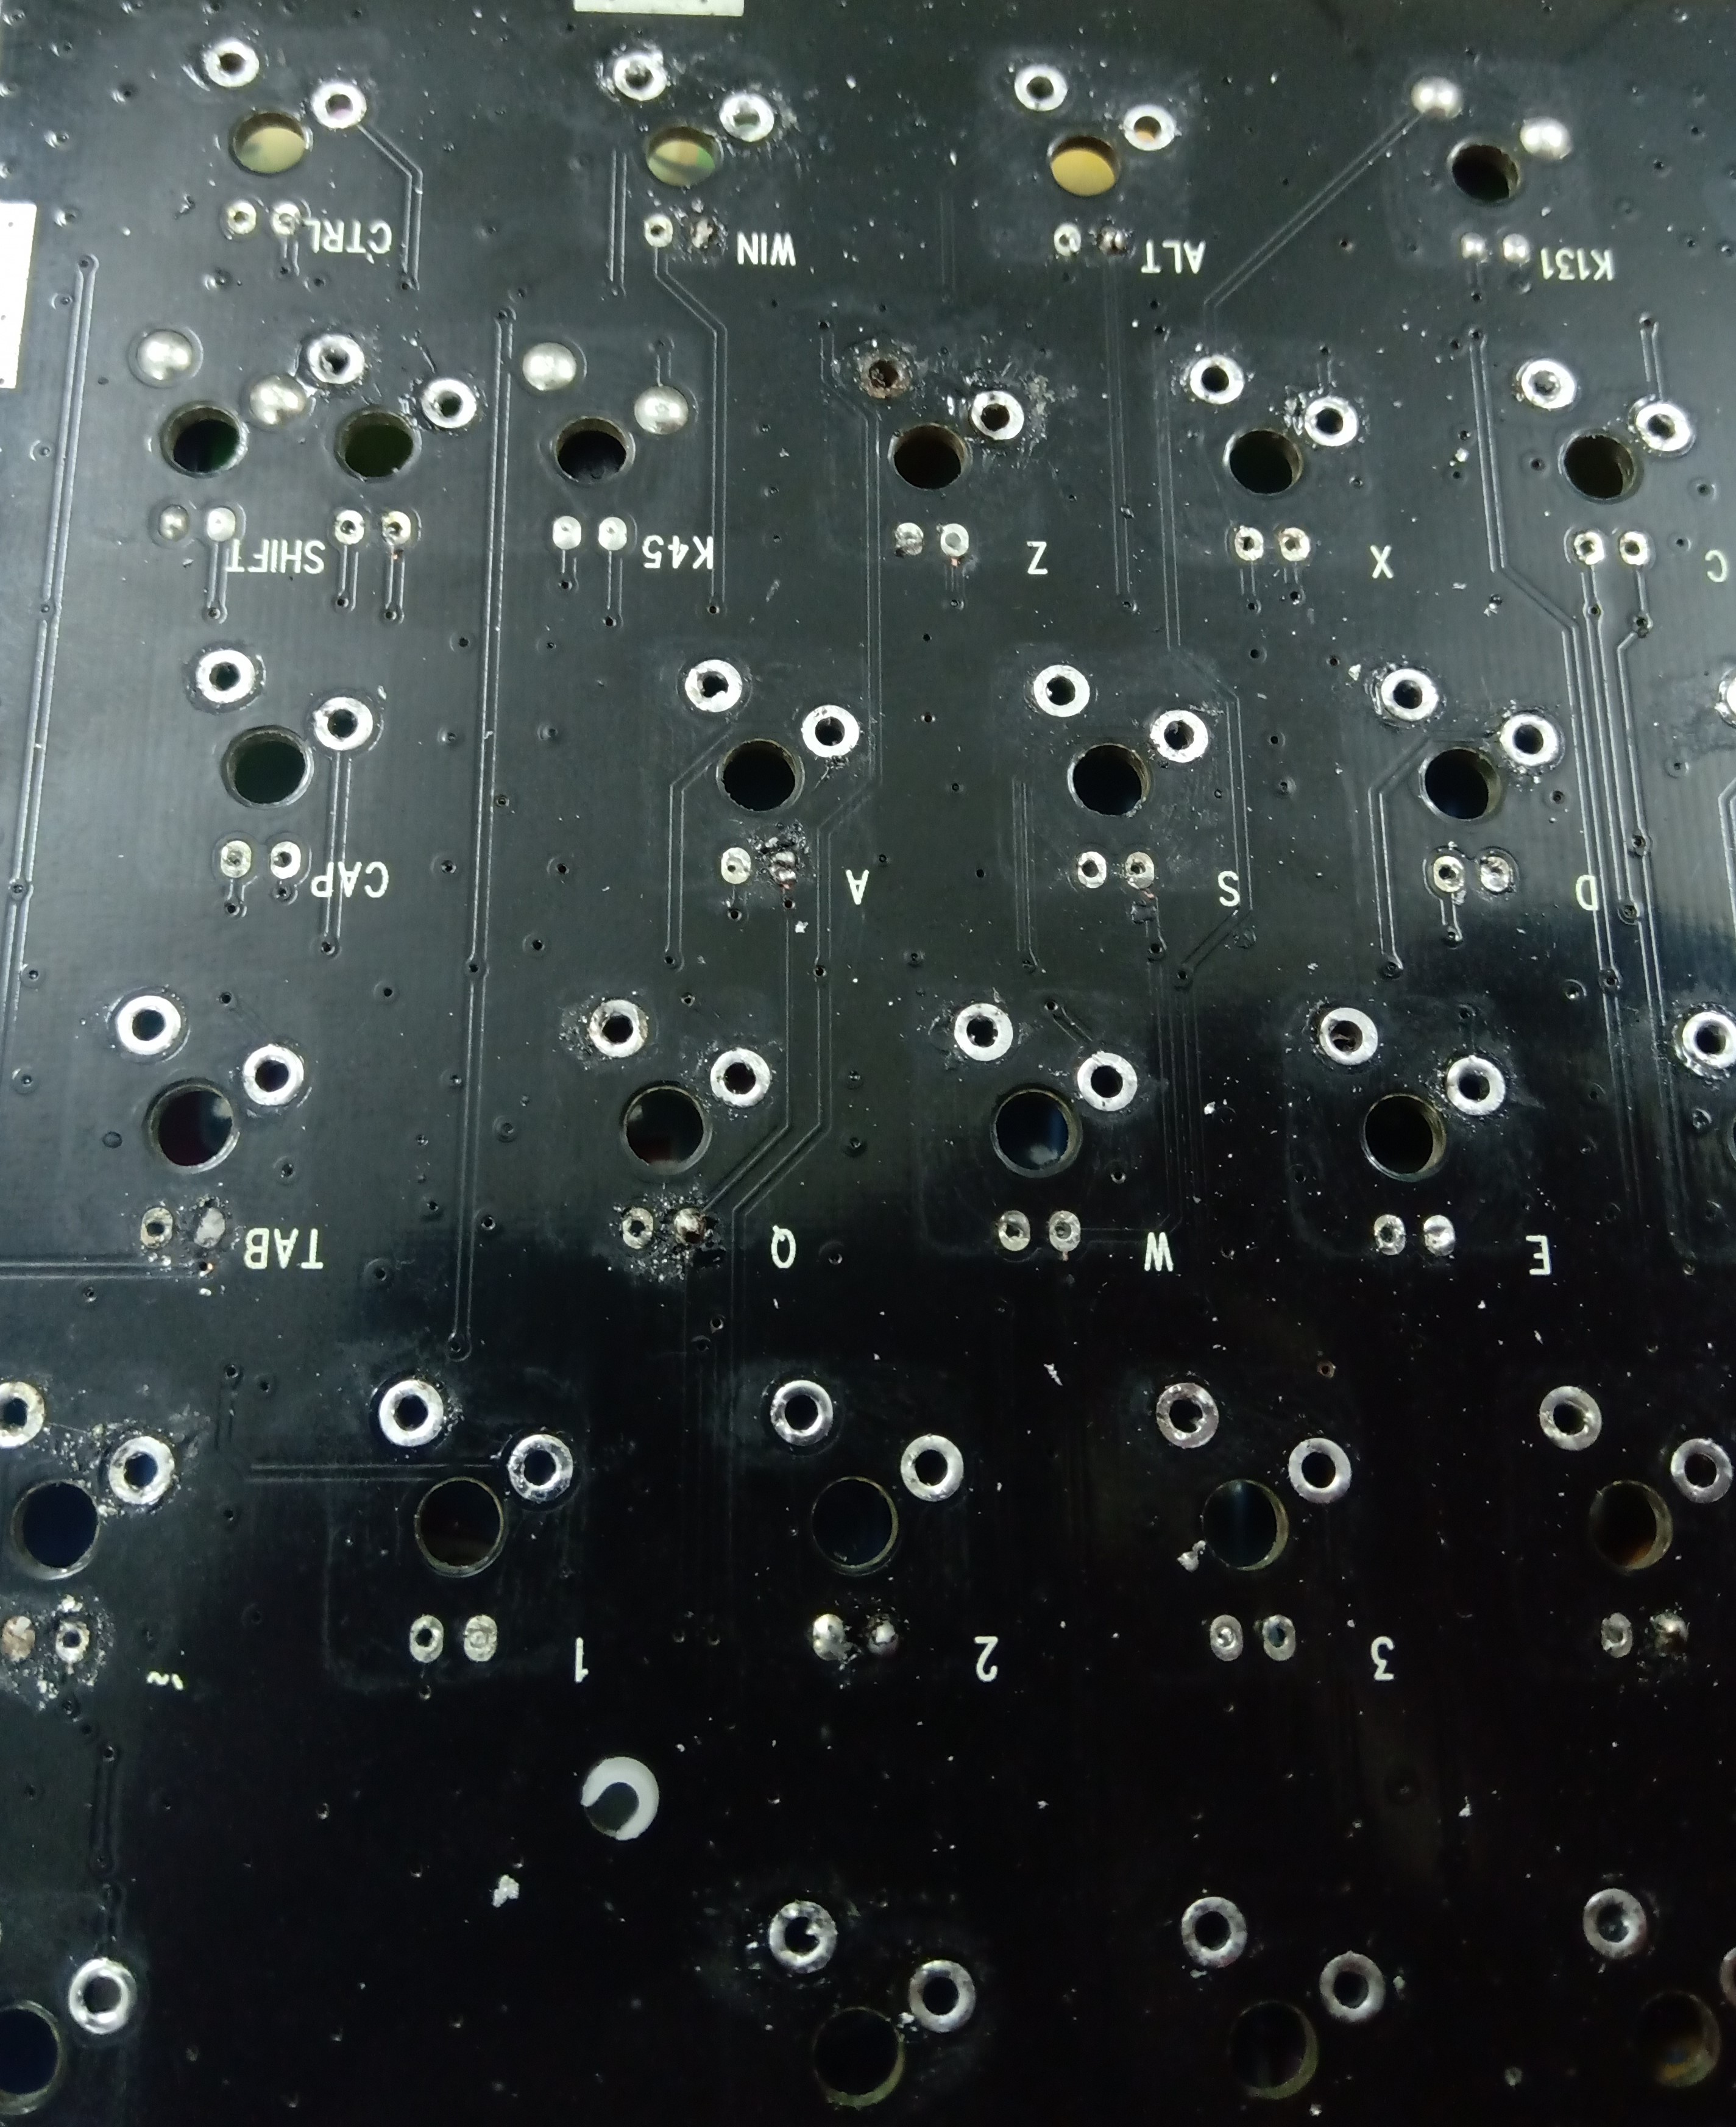
Unfortunately, with my inexperience (and cheap tools?), I did end up
damaging the board quite a bit.
Most notably, Numpad 5:
(Some hand-wiring could be used to get this working again; but I don’t have the motivation or the resources to do that just yet).
The desoldering work on the rest of the PCB wasn’t great either. But, these keys seem to work fine anyway.
After desoldering and removing the switches, the rest of the process was relatively straightforward: replace the switches, solder these, and reassemble the keyboard.
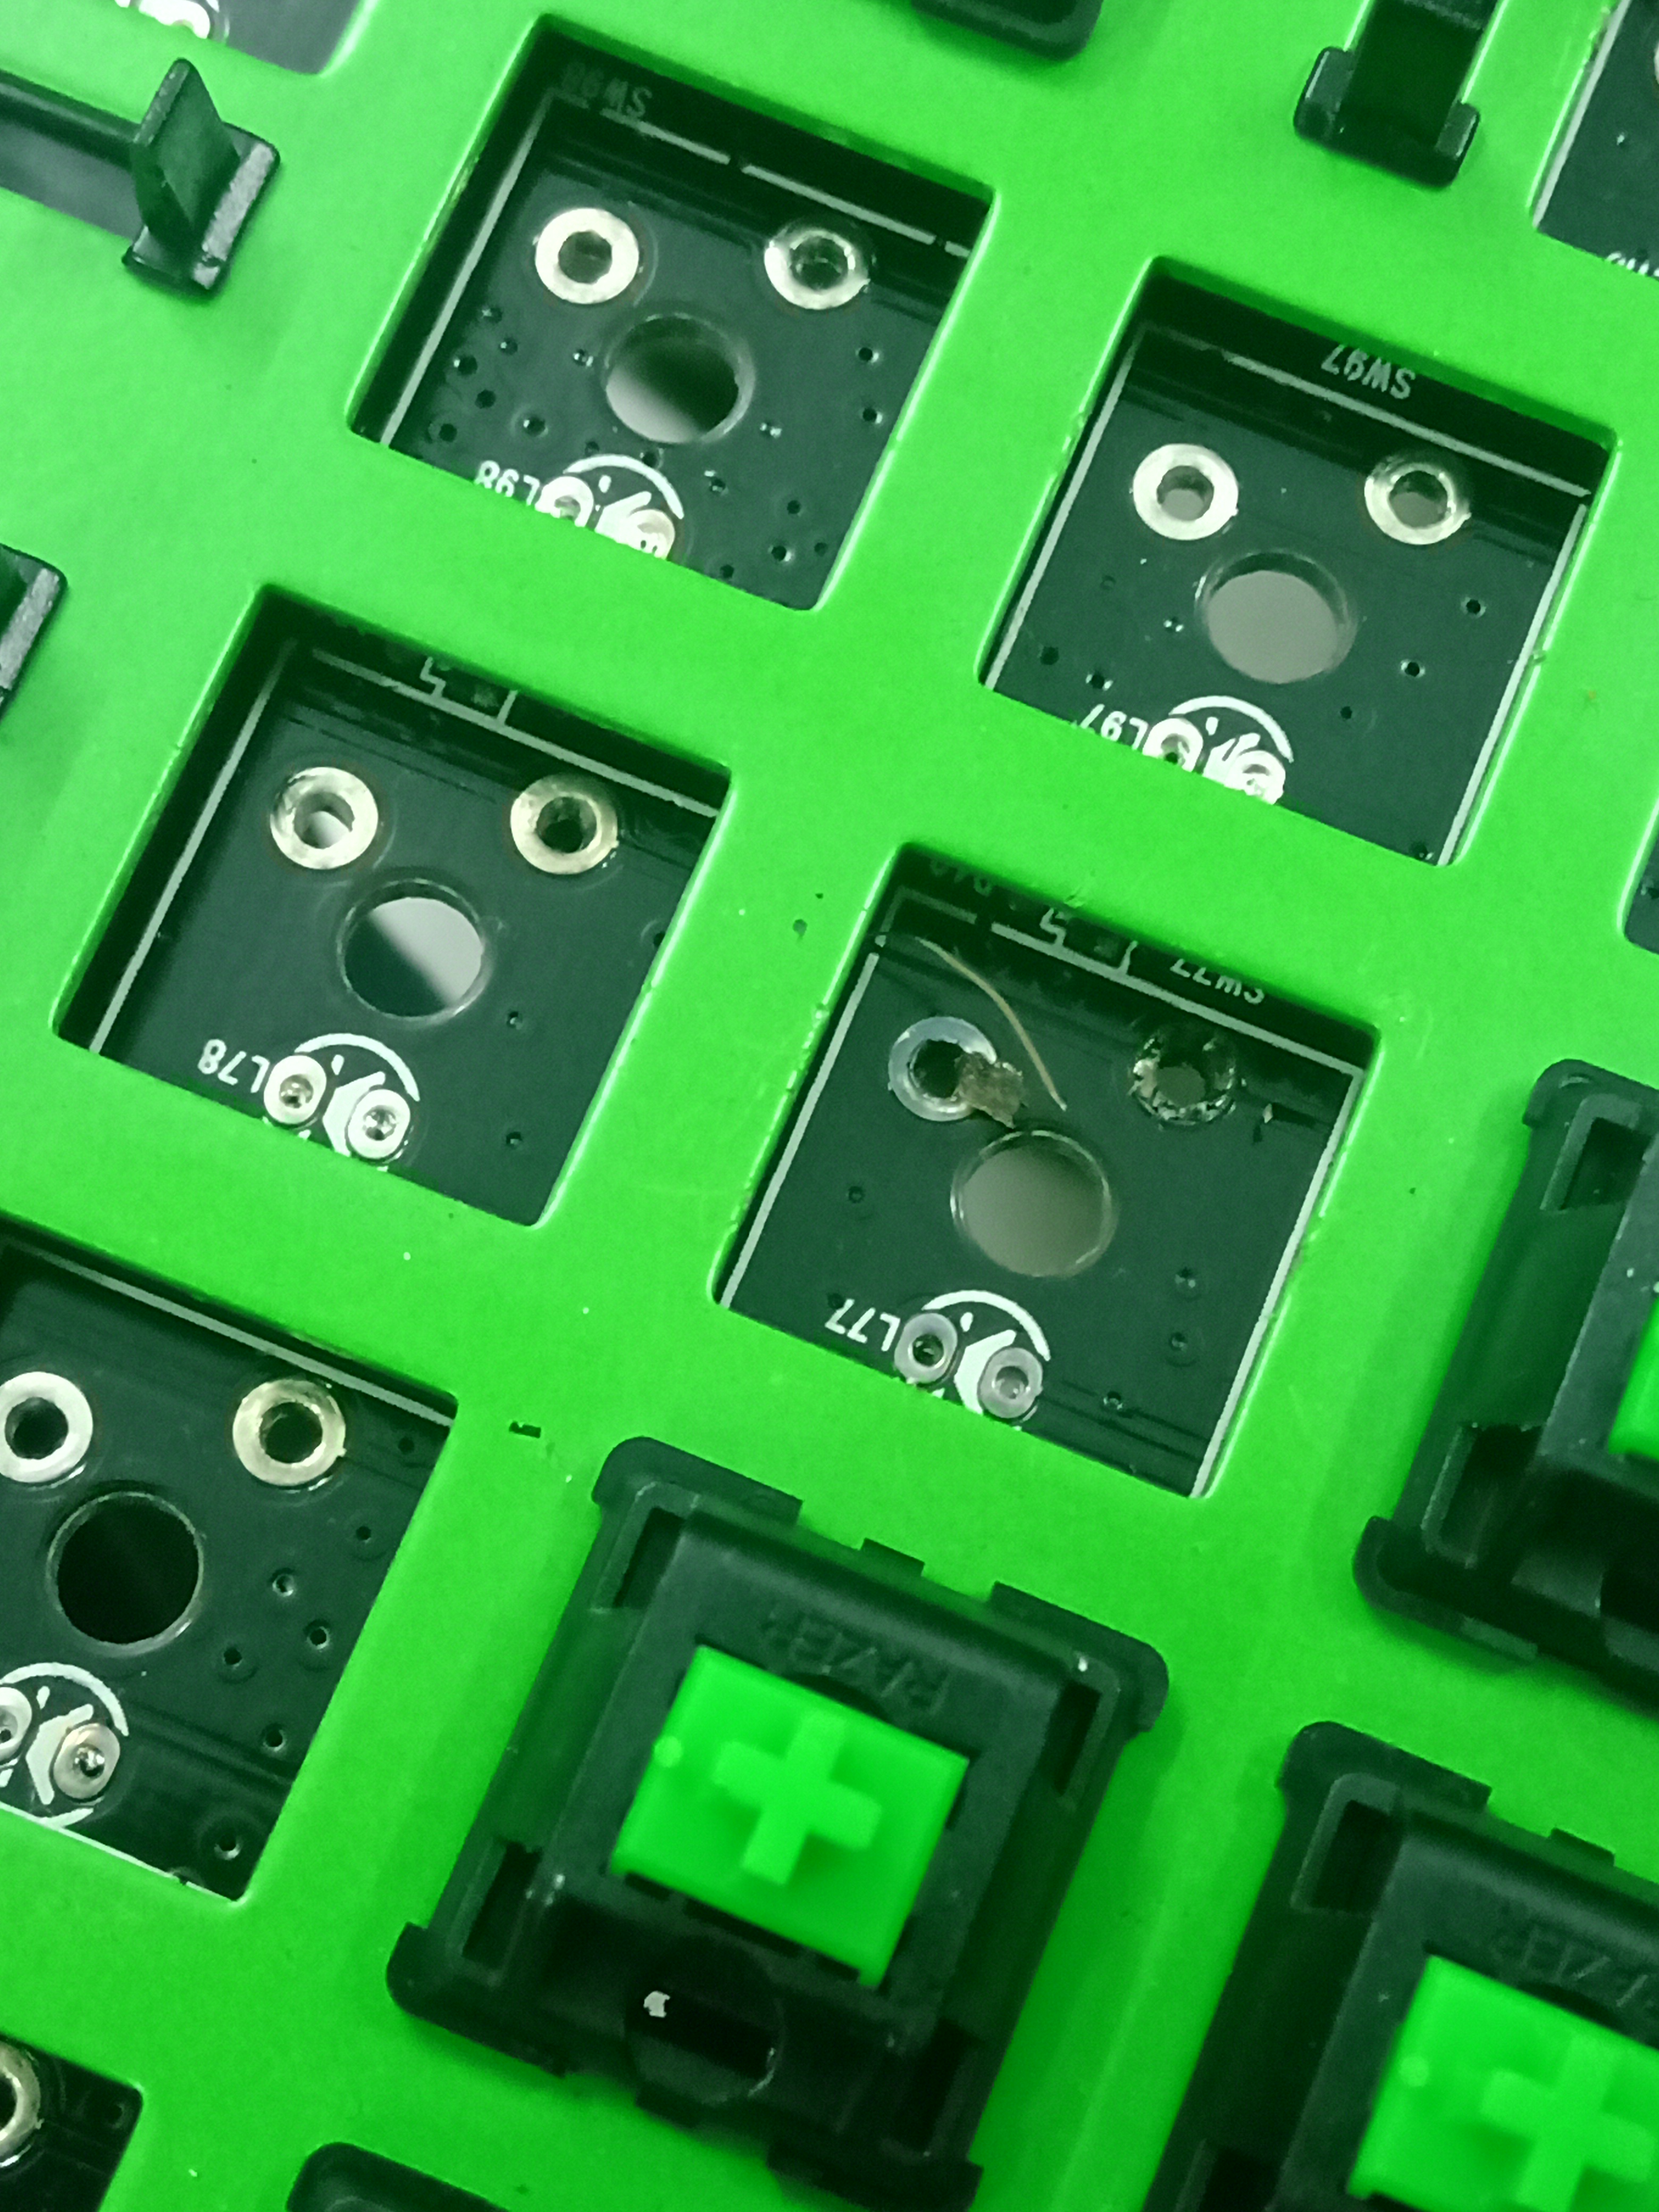
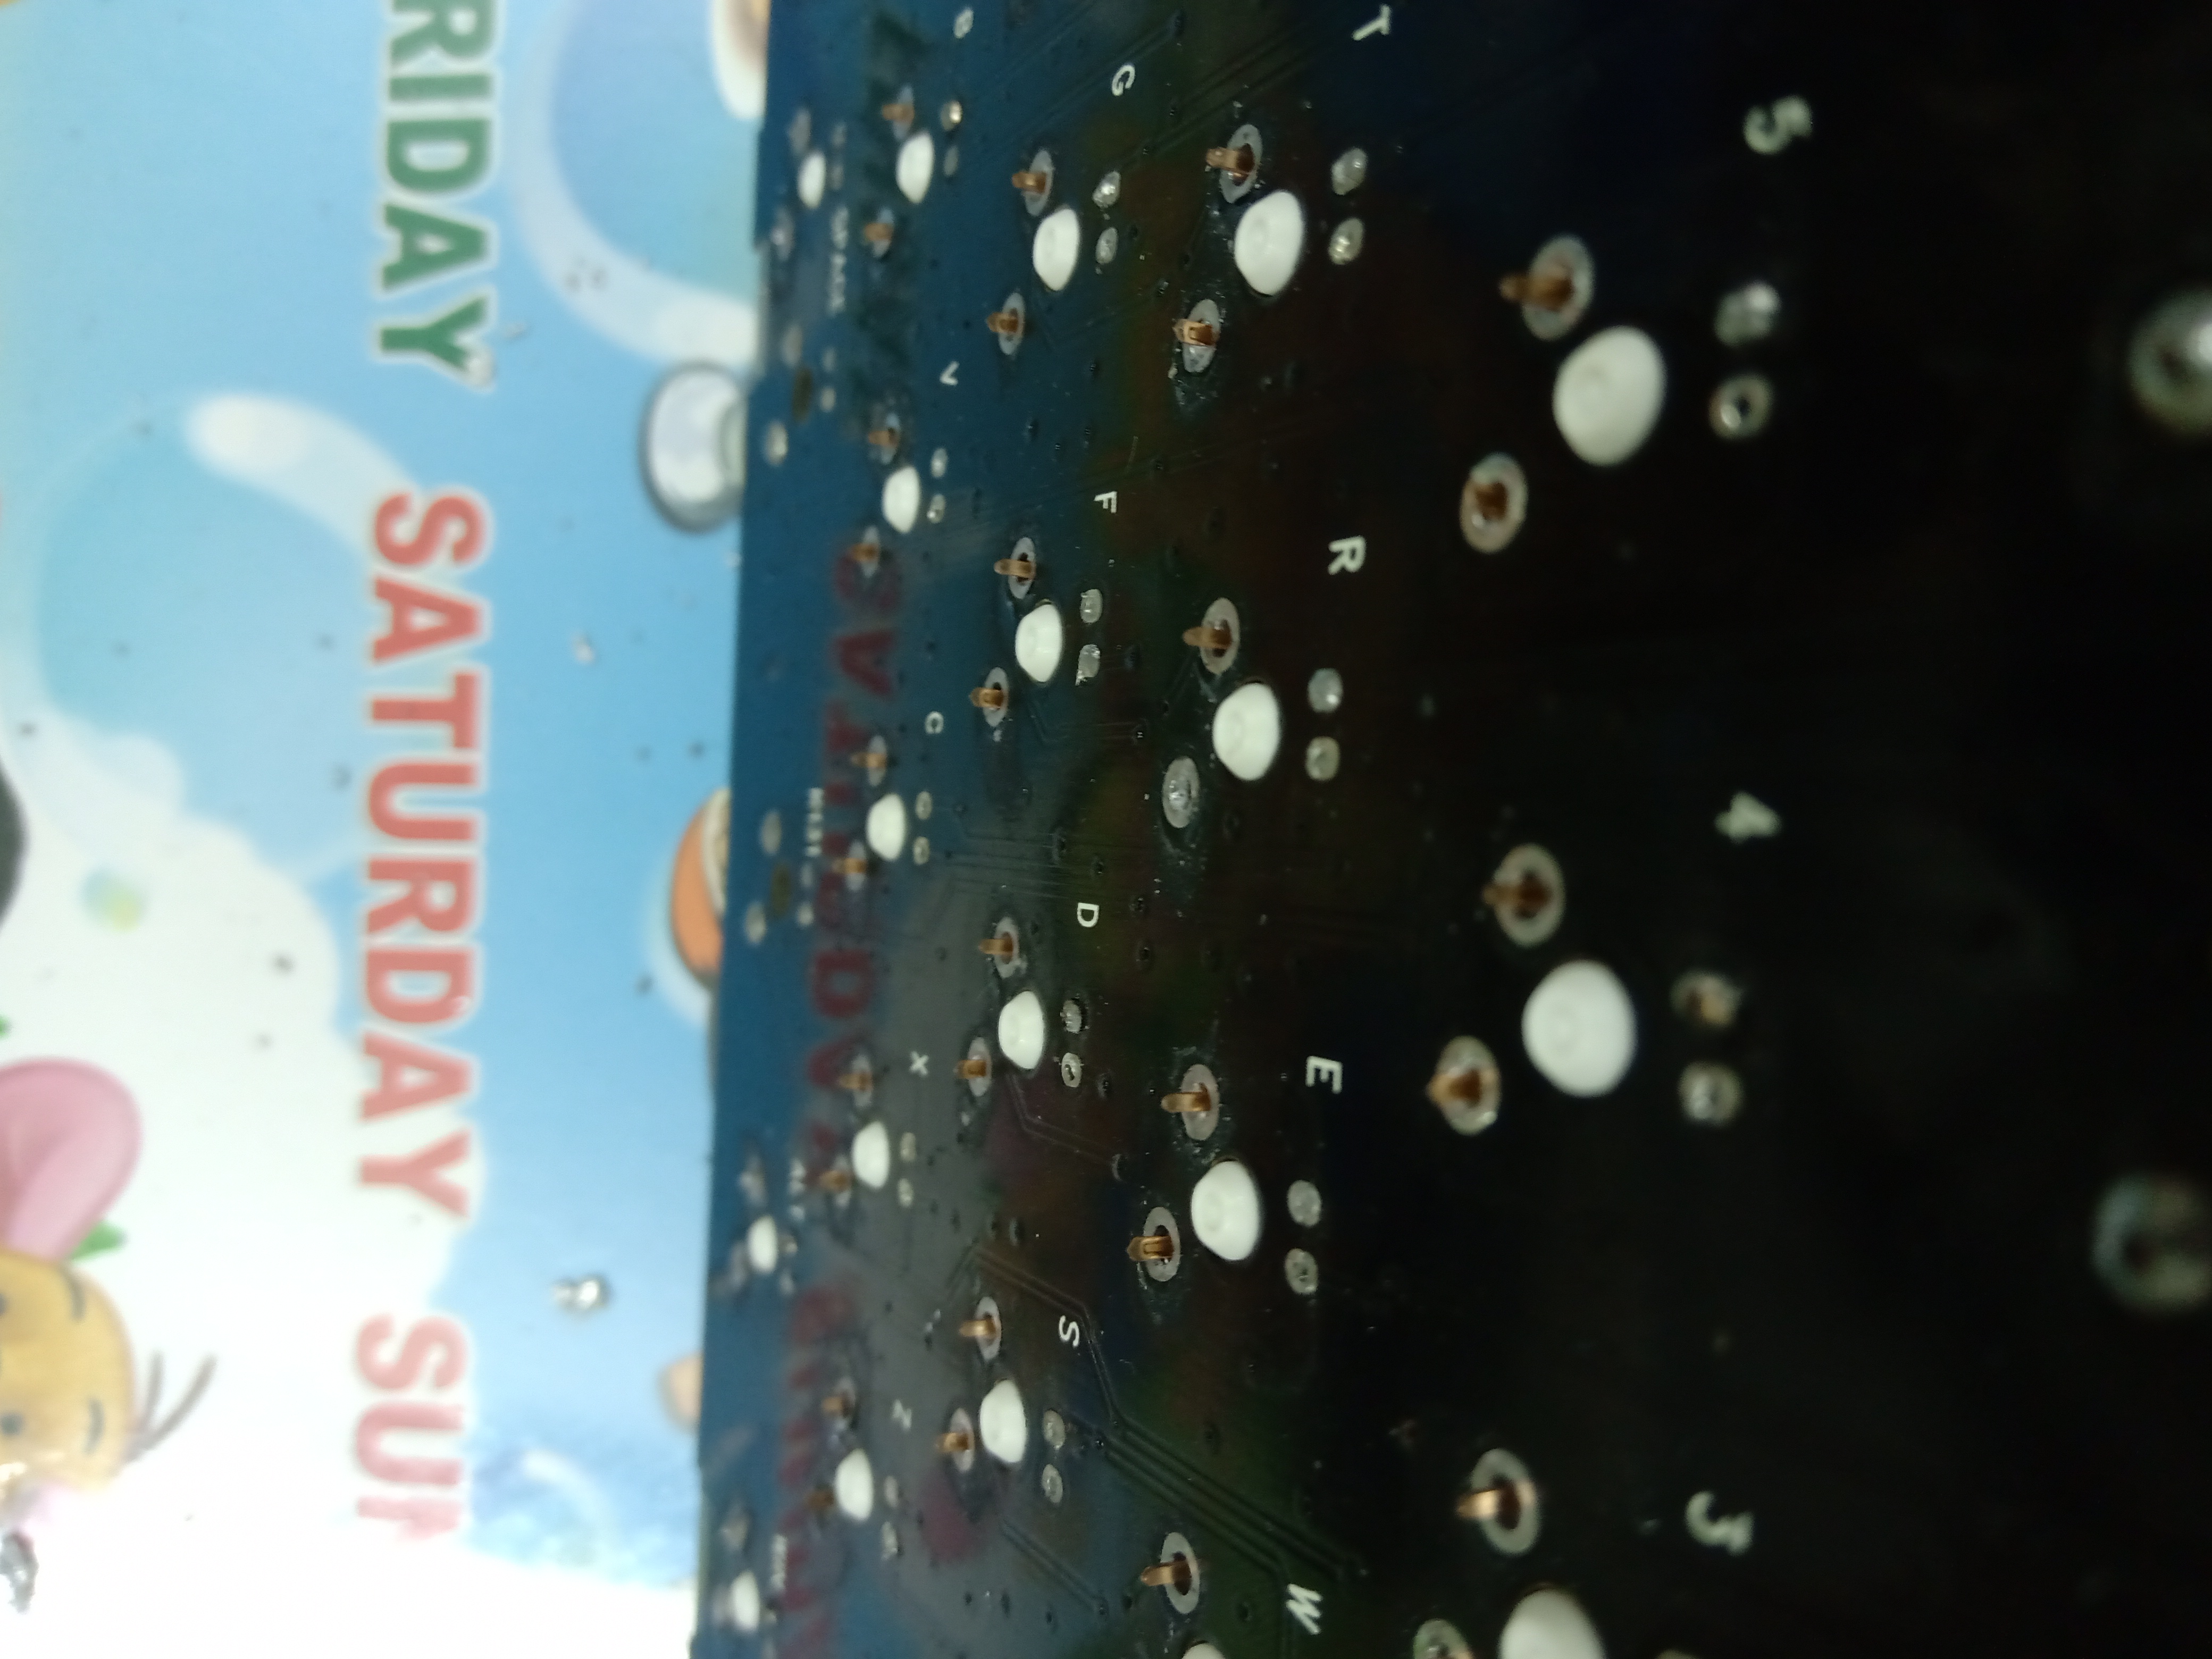
Even putting the switches in isn’t foolproof. e.g. Here some of the switches had their legs bent by not being careful when putting the switch in. (To be honest, I was impatient enough that I soldered some of these switches before realising this was a problem).
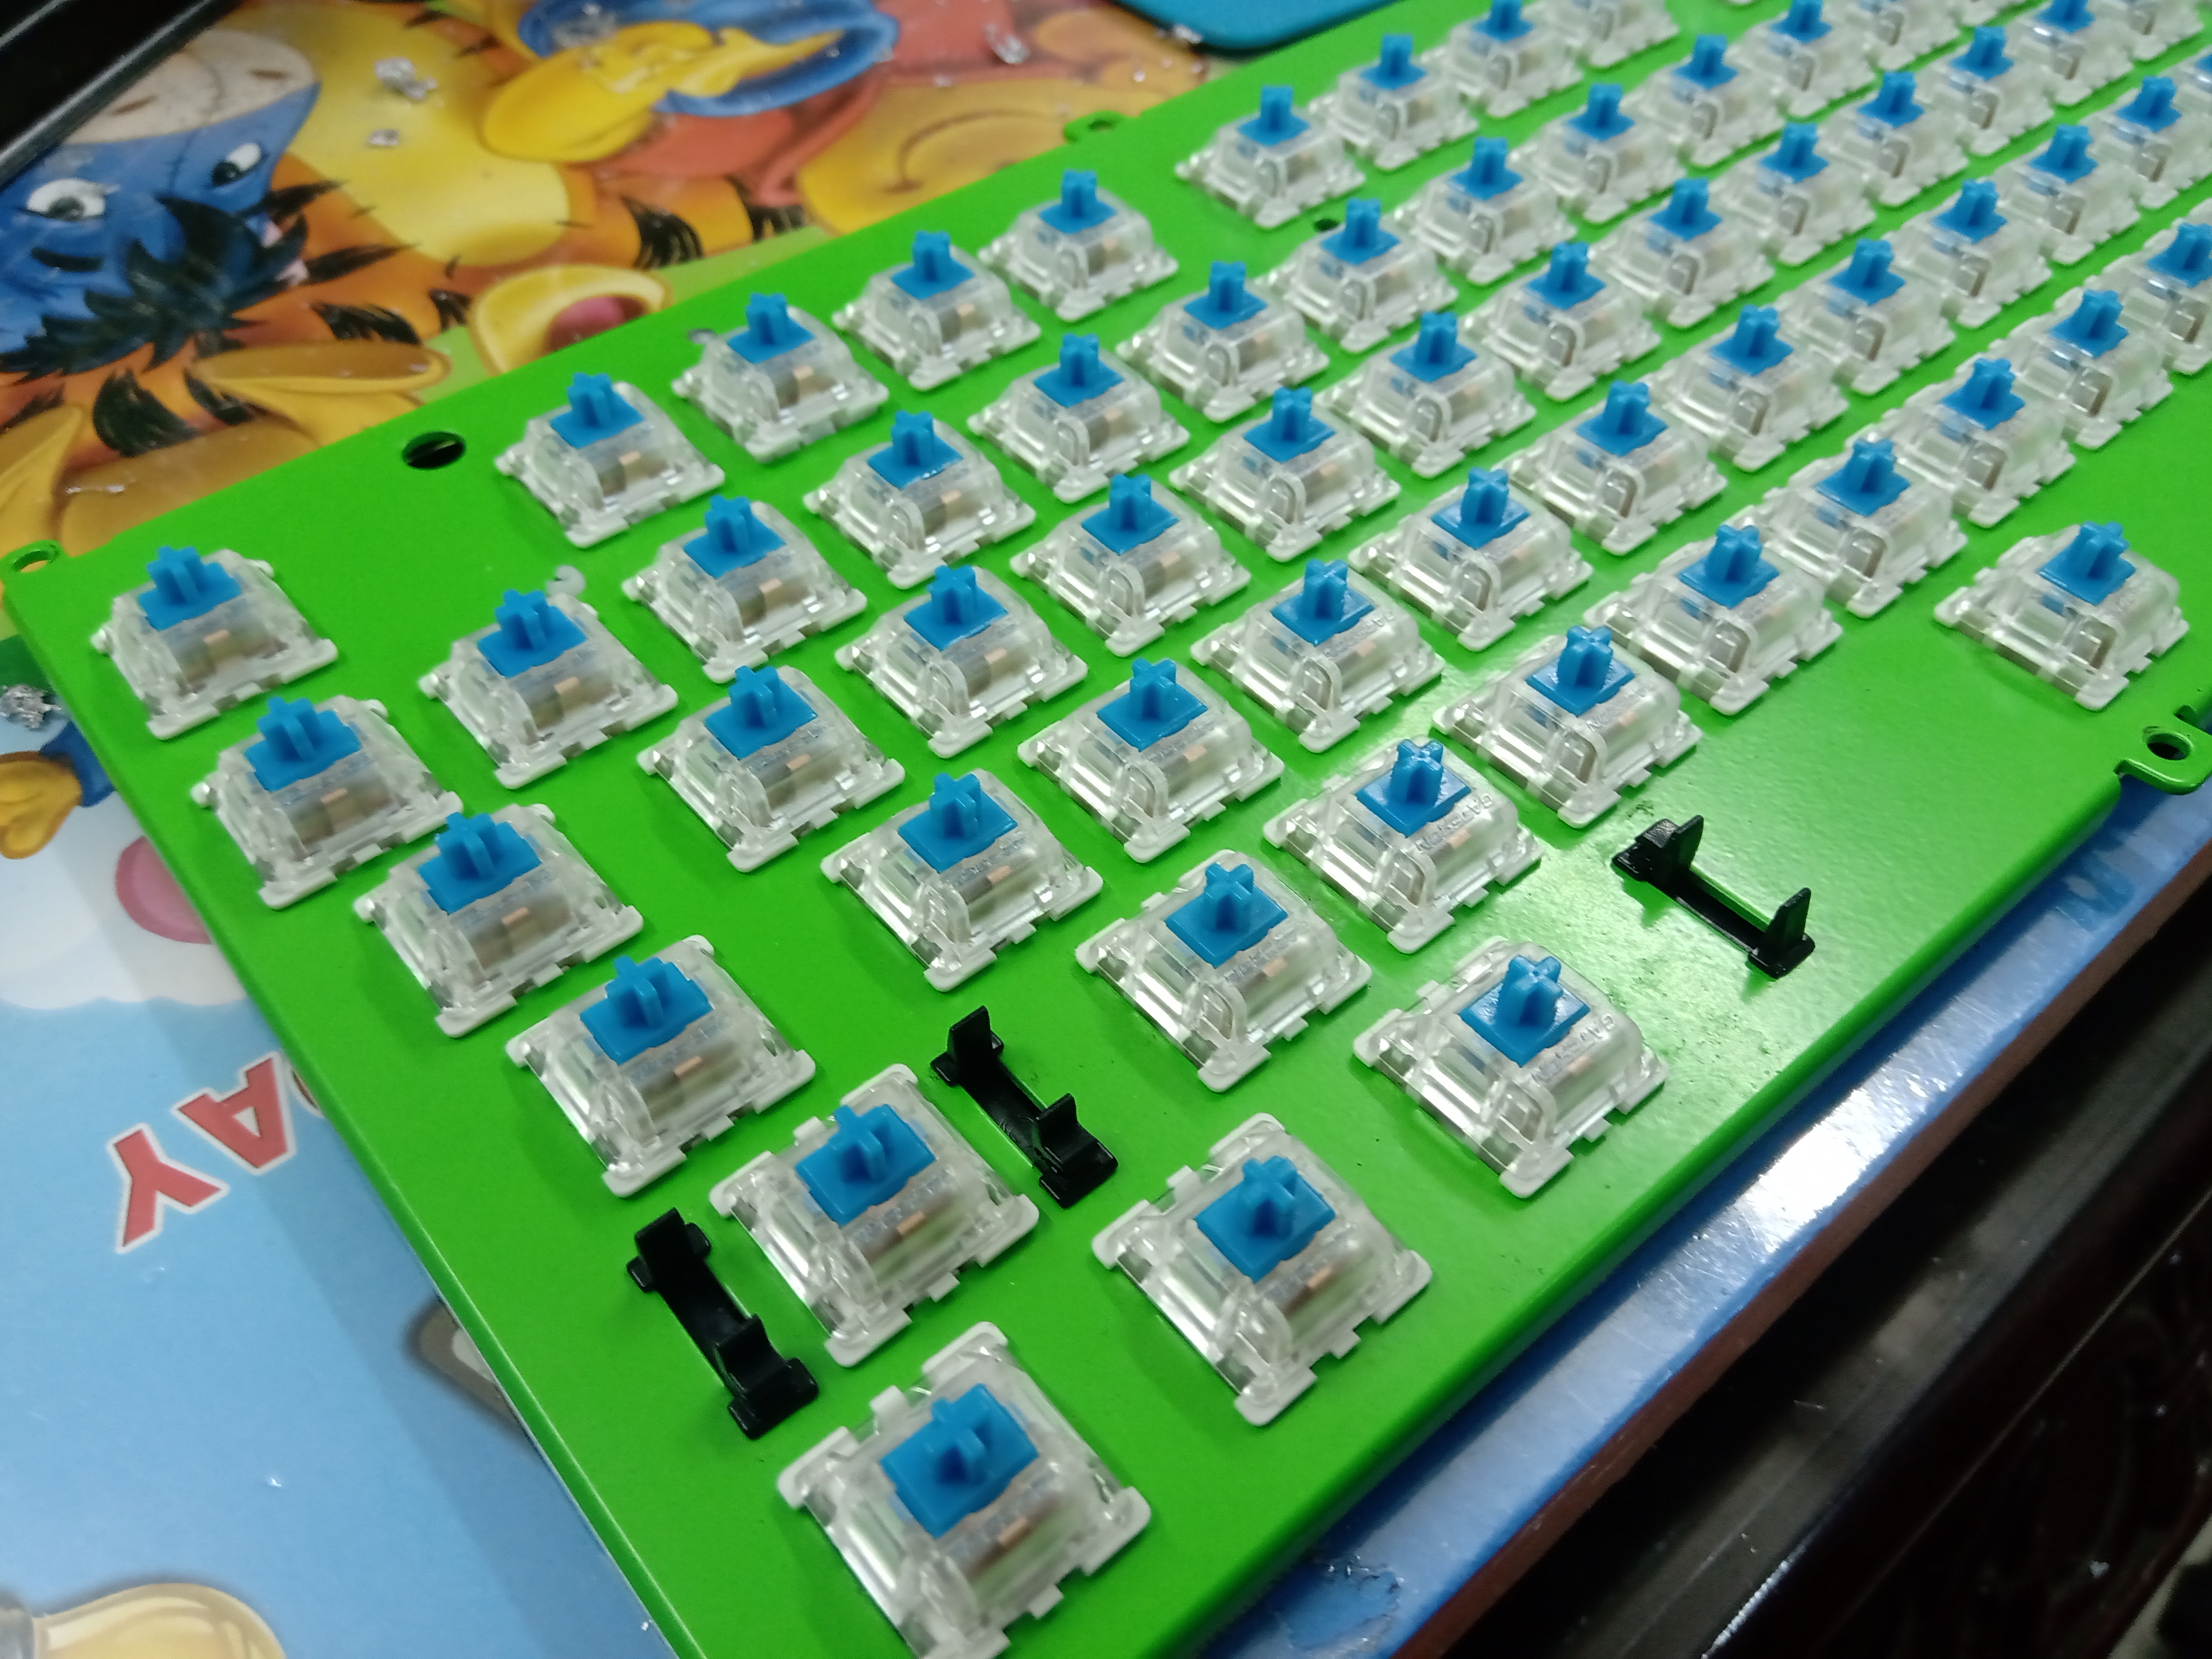
Here’s a view of the PCB and case with Gateron Blue switches in them.
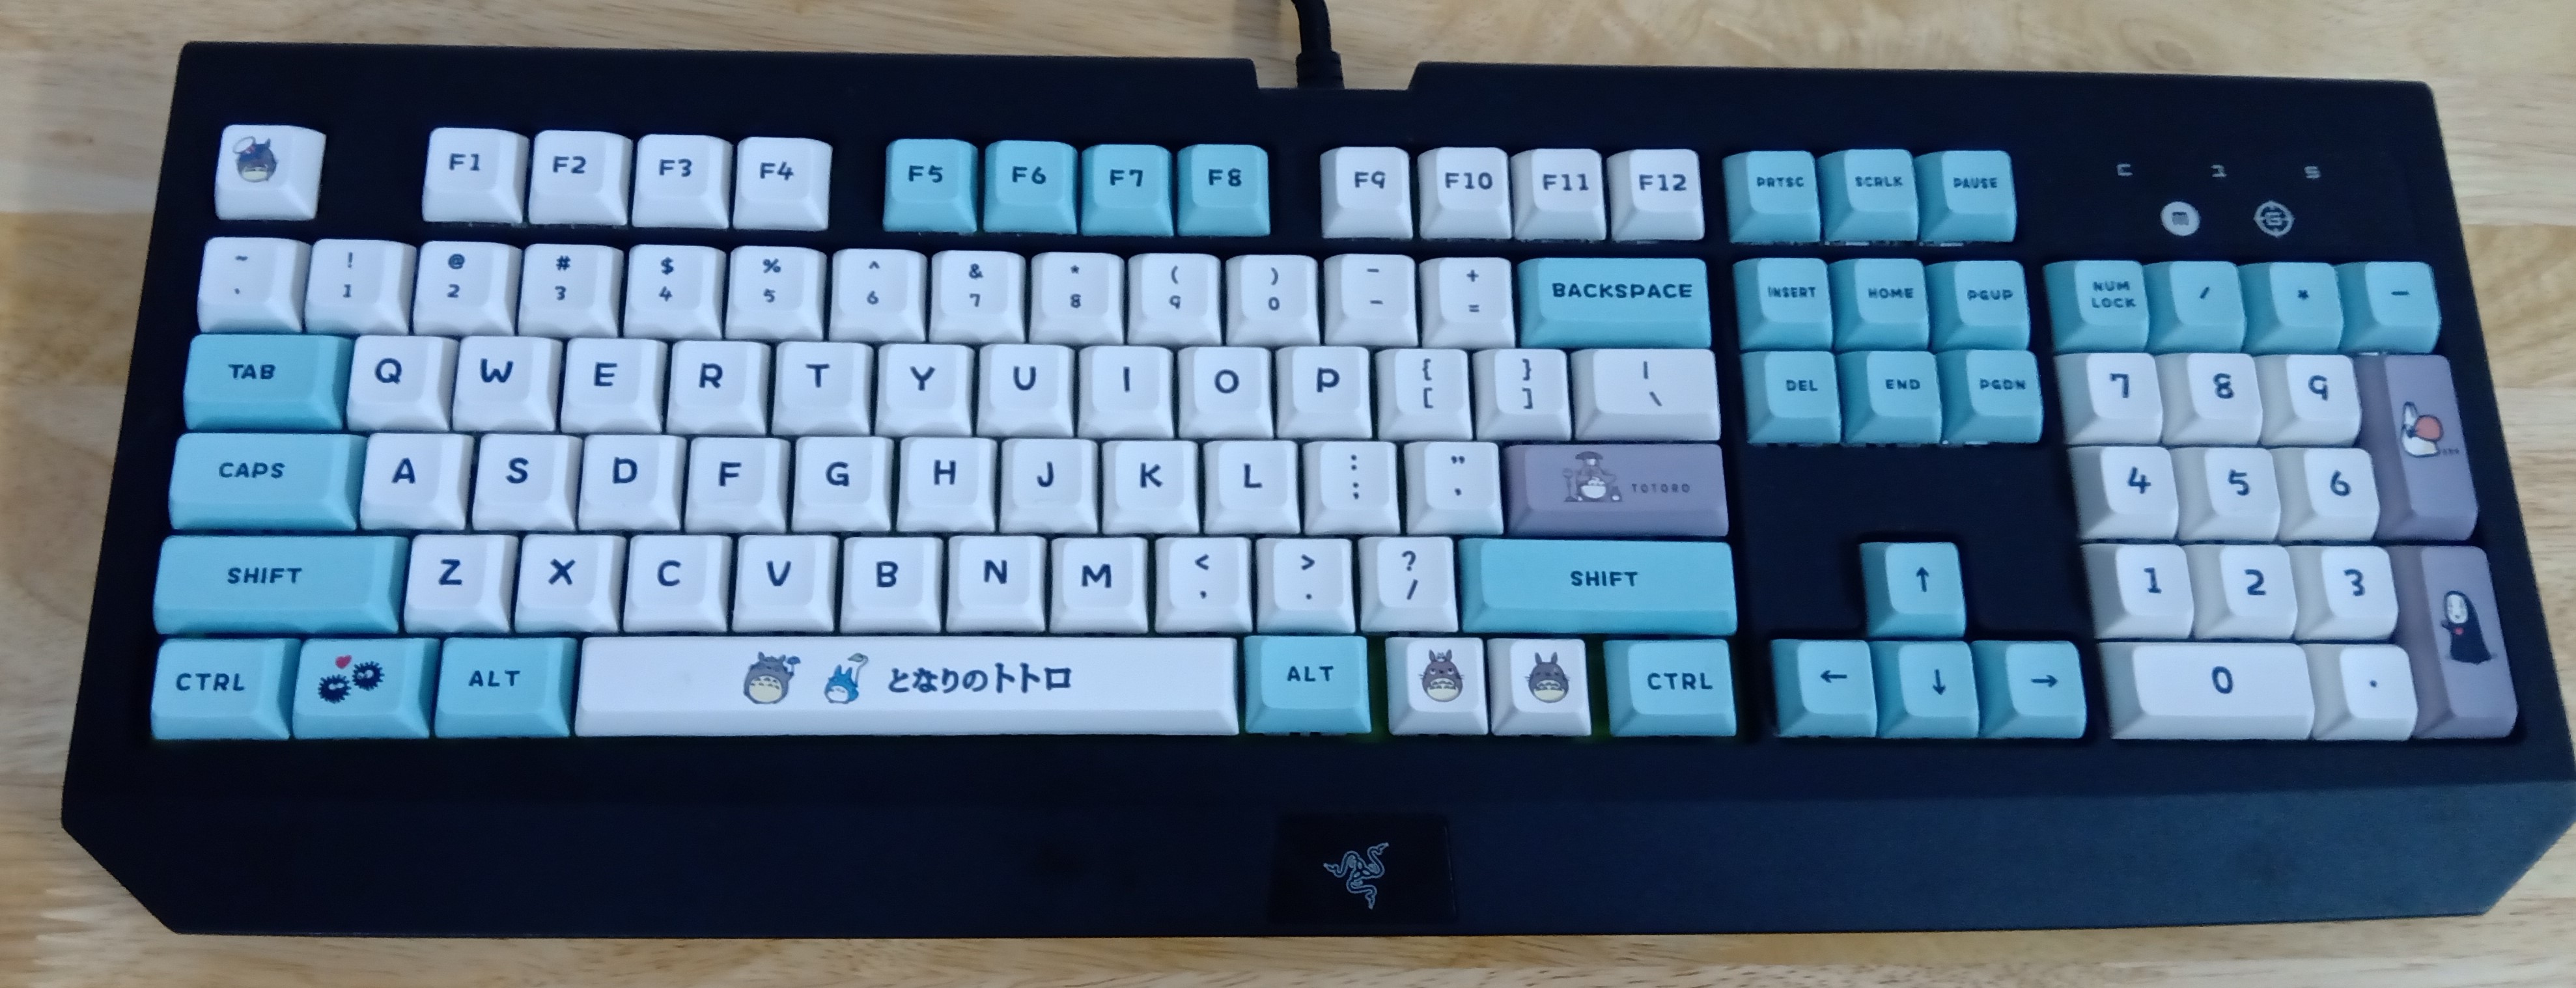
And here’s the final result.
I used a keycap set with cute Totoro keycaps.
(I don’t think these keycaps would show off the LEDs anyway).
I’m pleased enough with the result.
I probably wouldn’t be so pleased if the keys I broke were keys I use more
often than the numpad.