Build Guide for CH552-44 rev2023.2
This document is a guide for soldering the CH552-44 keyboard.
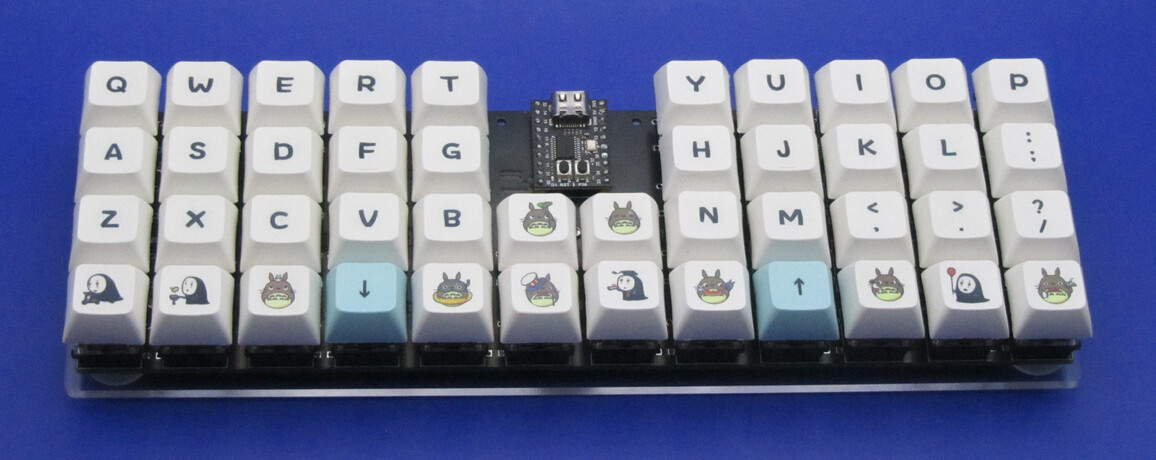
Required Materials
- 1x PCB
- 1x WeAct Studio CH552 development board
- 44x MX-compatible 5-pin switches
- 3-pin switches can be used, if using a switch plate.
- Case or bottom plate.
- M2 screws, for mounting PCB to the case.
-
e.g. for sandwich style (bottom plate):
- 5x PM M2x3mm screws
- 5x PM M2x5mm screws
- 5x M2 4mm brass female-female spacers
-
Optionally:
- For using the USB-C connector underneath the PCB:
- 2x 5.1k resistors (1/4W through-hole, or 0805 SMD)
- 1x 16-pin USB-C connector.
- For mounting the devboard,
the male header pins which come with the devboard are sufficient.
For mounting the devboard higher:
- 1x 1x40 SIP round-pin male headers,
- 1x 1x40 SIP round-pin female header sockets.
- A plate for the key switches would improve the keyboard quality; get this lasercut from 1.5mm thick.
Required Soldering Tools
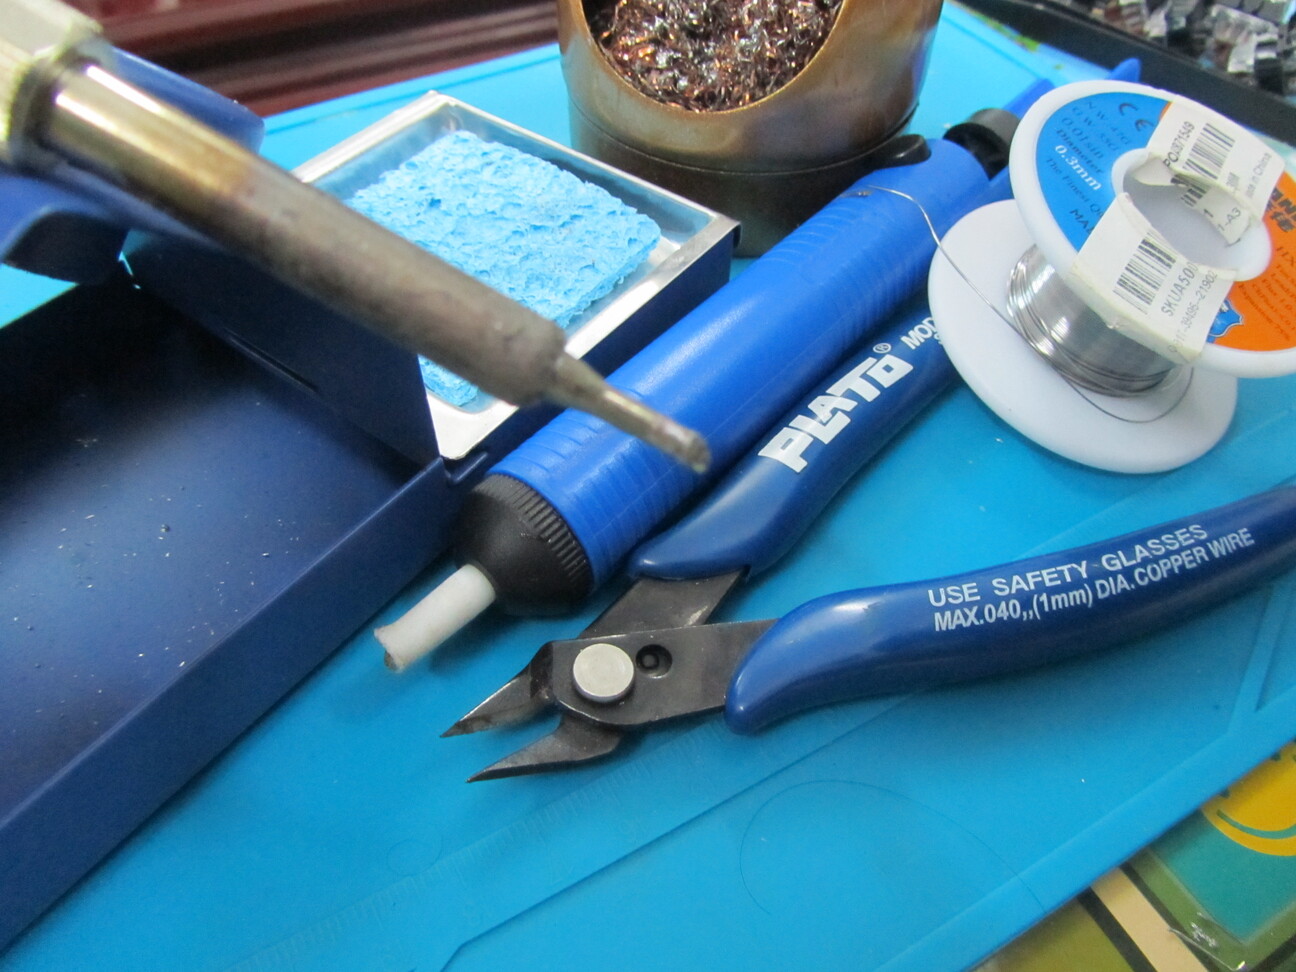
-
Soldering iron.
- Even a very cheap one will do.
-
Soldering iron stand.
-
Fume Extractor/Filter.
- Especially if you're soldering indoors.
-
Solder.
- I would strongly recommend using better-than-the-cheapest solder. My experience with cheap solder is that it doesn't have enough flux, which makes soldering difficult.
-
A sponge, or brass wool, for cleaning solder from the soldering iron.
-
Desoldering sucker, or desoldering wick.
- A cheap desoldering sucker should be able to do the job. However, I'd recommend getting nicer-than-cheapest because if you're using a desoldering sucker, you'll want to reduce frustration experienced. (Especially if desoldering MX keyswitches).
-
Flush cutters.
-
Soldering mat; or cardboard or whatever to protect the surface from damage while soldering.
Recommended Tools
-
Digital Mulitmeter.
- The most useful functionality here is the continuity check.
- Take care, most cheap multimeters don't switch off automatically, which results in the battery draining completely after use if the multimeter isn't switched off.
-
Bevel/chisel soldering iron tip.
- Not strictly necessary, but it's what I used in this build.
-
Needle-nosed pliers.
-
Tweezers.
-
Wire stripper / Jumper wire.
- In many cases, jumper wire can be used to 'repair' a connection between keyboard switches, or fix other small mistakes/damages.
Nice to Have
-
Twin-Headed Soldering Iron
- If you're going to do a lot of soldering of SMD diodes/resistors/etc., then it's very useful to have twin-headed soldering tweezers.
-
Hot Air Gun
- Makes it easier to solder SMD components.
Build Guide
The soldering required for this keyboard is very simple. (Simpler than soldering practice kits).
-
(Optional) Solder the USB-C connector. (e.g. watch this video. Solder the connector's legs; then apply some flux to the pins, and solder across the pins. If there are shorts, add more flux and reflow as demonstrated). Also solder R1, R2. If using through-hole resistors, take care to ensure R1's solder joints are flush with the PCB.
-
Solder the dev board (and whatever headers for the dev board). (Since the CH552-44 uses P1.2 and P1.3, ensure SB1 is bridged, and SB2 is bridged. I also like to reflow the USB connector's legs, in case this strengthens the connector).
-
Solder the diodes for the switches.
-
Using the switch plate to align the switches, solder the switches in.
Notes
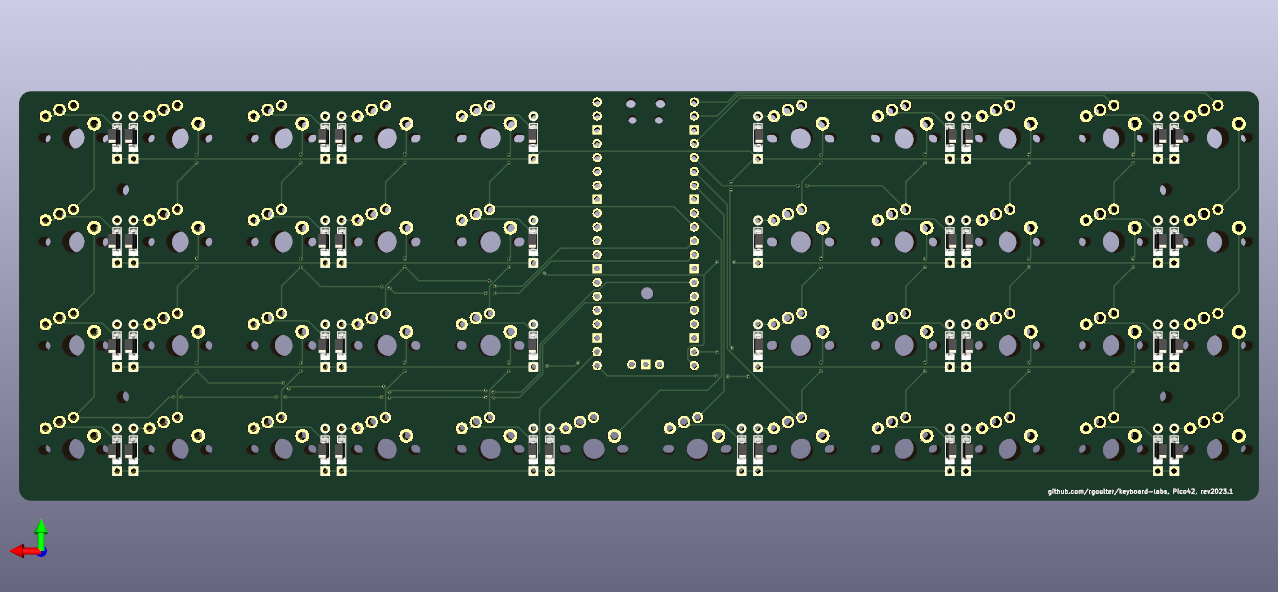
- Diode direction: the cathode (negative, marked side) should be soldered towards the through-hole pad which is shaped like a square. e.g. compare with this render (of a different PCB):
- The CH552 core board can also be soldered onto round-pin headers, instead of the square-pin headers that come with the devboard.
- By socketing the dev-board using round-pin female headers (and maybe round-pin male headers),
the dev board still is below the height of MX switches, but sits high enough
to mount the PCB in the low-profile JJ40 case.
- Socketing also allows easily removing/replacing the dev board.
Entering Bootloader Mode for the CH552
You can enter the bootloader on the CH552 by holding the P3.6 button when connecting the dev board to the computer.
Then the keyboard firmware can be flashed onto the MCU.